Ever felt that satisfying urge to just… fix something? To take two separate pieces of metal and make them one, strong, glorious unit? While traditional welding might conjure images of sparks flying and intense fabrication shops, there's a surprisingly accessible and incredibly clever trick up the sleeve of many DIY enthusiasts and garage heroes: spot welding with a MIG welder. It’s less about drawing long, continuous beads and more about quick, precise "tacks" that can join thin sheet metal like magic.
The beauty of this technique lies in its simplicity and the sheer utility it brings to everyday tinkering. Think of it as a super-powered metal stapler, but instead of staples, you’re using molten metal to create strong, localized bonds. The main benefit? It allows you to join two overlapping pieces of thin metal quickly, with minimal heat distortion compared to a full weld bead. This means less grinding, less warpage, and a much cleaner finish. For anyone working with sheet metal, be it on an old car or a custom metal project, the ability to create discreet, strong spot welds is a game-changer. It’s faster, often stronger for specific applications, and much easier to conceal.
So, where does this clever hack shine in the real world? Its most common application is undoubtedly in automotive body repair. Imagine patching a rusted-out section on a classic car fender. Instead of laying down a continuous bead that could warp the panel, you can spot weld the patch panel in place, creating a series of strong, nearly invisible attachment points. Beyond cars, it's fantastic for fabricating custom brackets, building metal enclosures for electronics, repairing appliance panels, or even creating unique metal art pieces where a clean, seamless joint is desired. It’s like having a precision joining tool right at your fingertips for all your sheet metal endeavors.
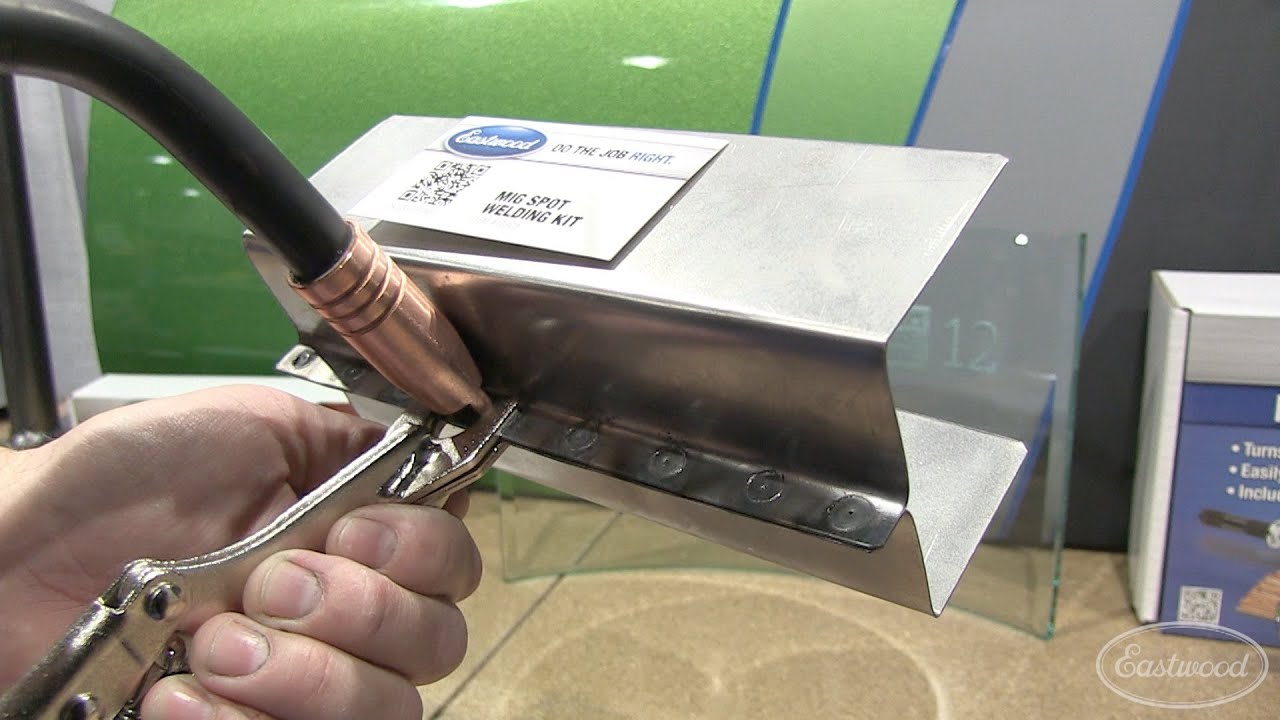
Ready to unleash your inner metal maestro? Here are a few practical tips to make spot welding with your MIG a truly enjoyable and effective experience. First, preparation is paramount. Ensure your metal surfaces are clean – free from paint, rust, or oil. A good connection is a strong weld. Second, for the actual weld, ensure your pieces are clamped tightly together with no gap. Pressure is key! Third, choose the right settings for your thin material; you’ll typically want a slightly higher wire speed and lower voltage than you might use for a continuous bead on thicker metal. Experiment on scrap first to dial it in. Finally, the technique: position your MIG nozzle directly over the top piece of metal where you want the spot weld. Pull the trigger for a very short burst – think fractions of a second. You're aiming to burn through the top layer and fuse it to the bottom. Practicing on scrap metal is crucial for mastering the timing. Remember your safety gear too: a good auto-darkening helmet, gloves, and protective clothing are non-negotiable. With a little practice, you'll be joining thin metal like a pro, enjoying the satisfaction of strong, clean, and efficient spot welds!