Ever gazed at the intricate circuit board inside an old radio, or wondered how hobbyists connect tiny wires to build incredible gadgets? The secret often lies in a fascinating skill called soldering! Far from being a scary, technical chore, soldering is actually a incredibly rewarding, almost meditative process that empowers you to fix, create, and customize your own electronic world. Think of it as welding for the tiny stuff – creating strong, lasting electrical bonds that bring your projects to life.
So, why bother learning this seemingly niche skill? The primary purpose of soldering electrical wires is to create a strong, reliable, and conductive electrical connection between two or more components. Unlike twisting wires together or using electrical tape, which can loosen, corrode, or fail over time, a properly soldered joint is permanent, offering minimal electrical resistance and excellent mechanical stability. This means your DIY speaker system won't suddenly cut out, your repaired drone won't lose power mid-flight, and your custom LED strip will shine brightly for years to come. It’s the difference between a temporary fix and a professional-grade repair or build.
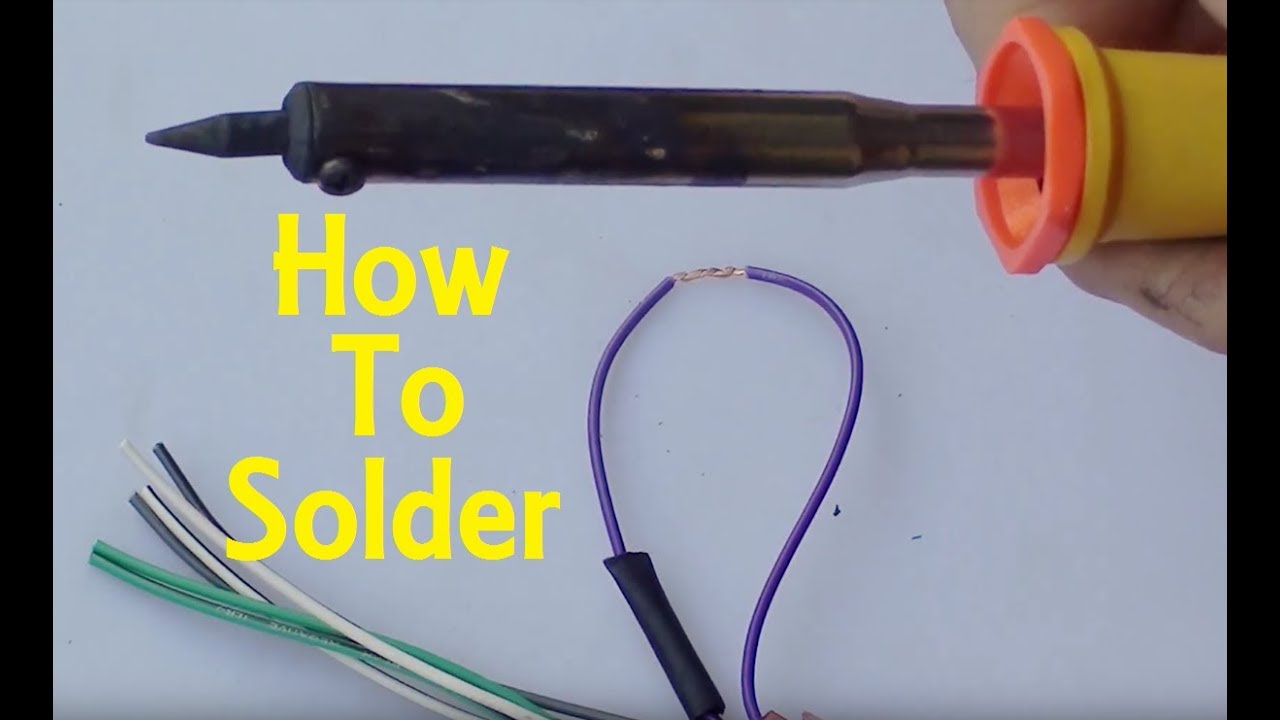
Ready to join the ranks of the DIY heroes? Here's the simplified rundown. First, gather your tools: a soldering iron (a pen-like tool that heats up), solder (a metal alloy, usually lead-free for hobbyists, that melts at low temperatures), flux (a chemical that helps clean the metals for a better bond), wire strippers, and crucially, safety glasses and good ventilation. Always prioritize safety!
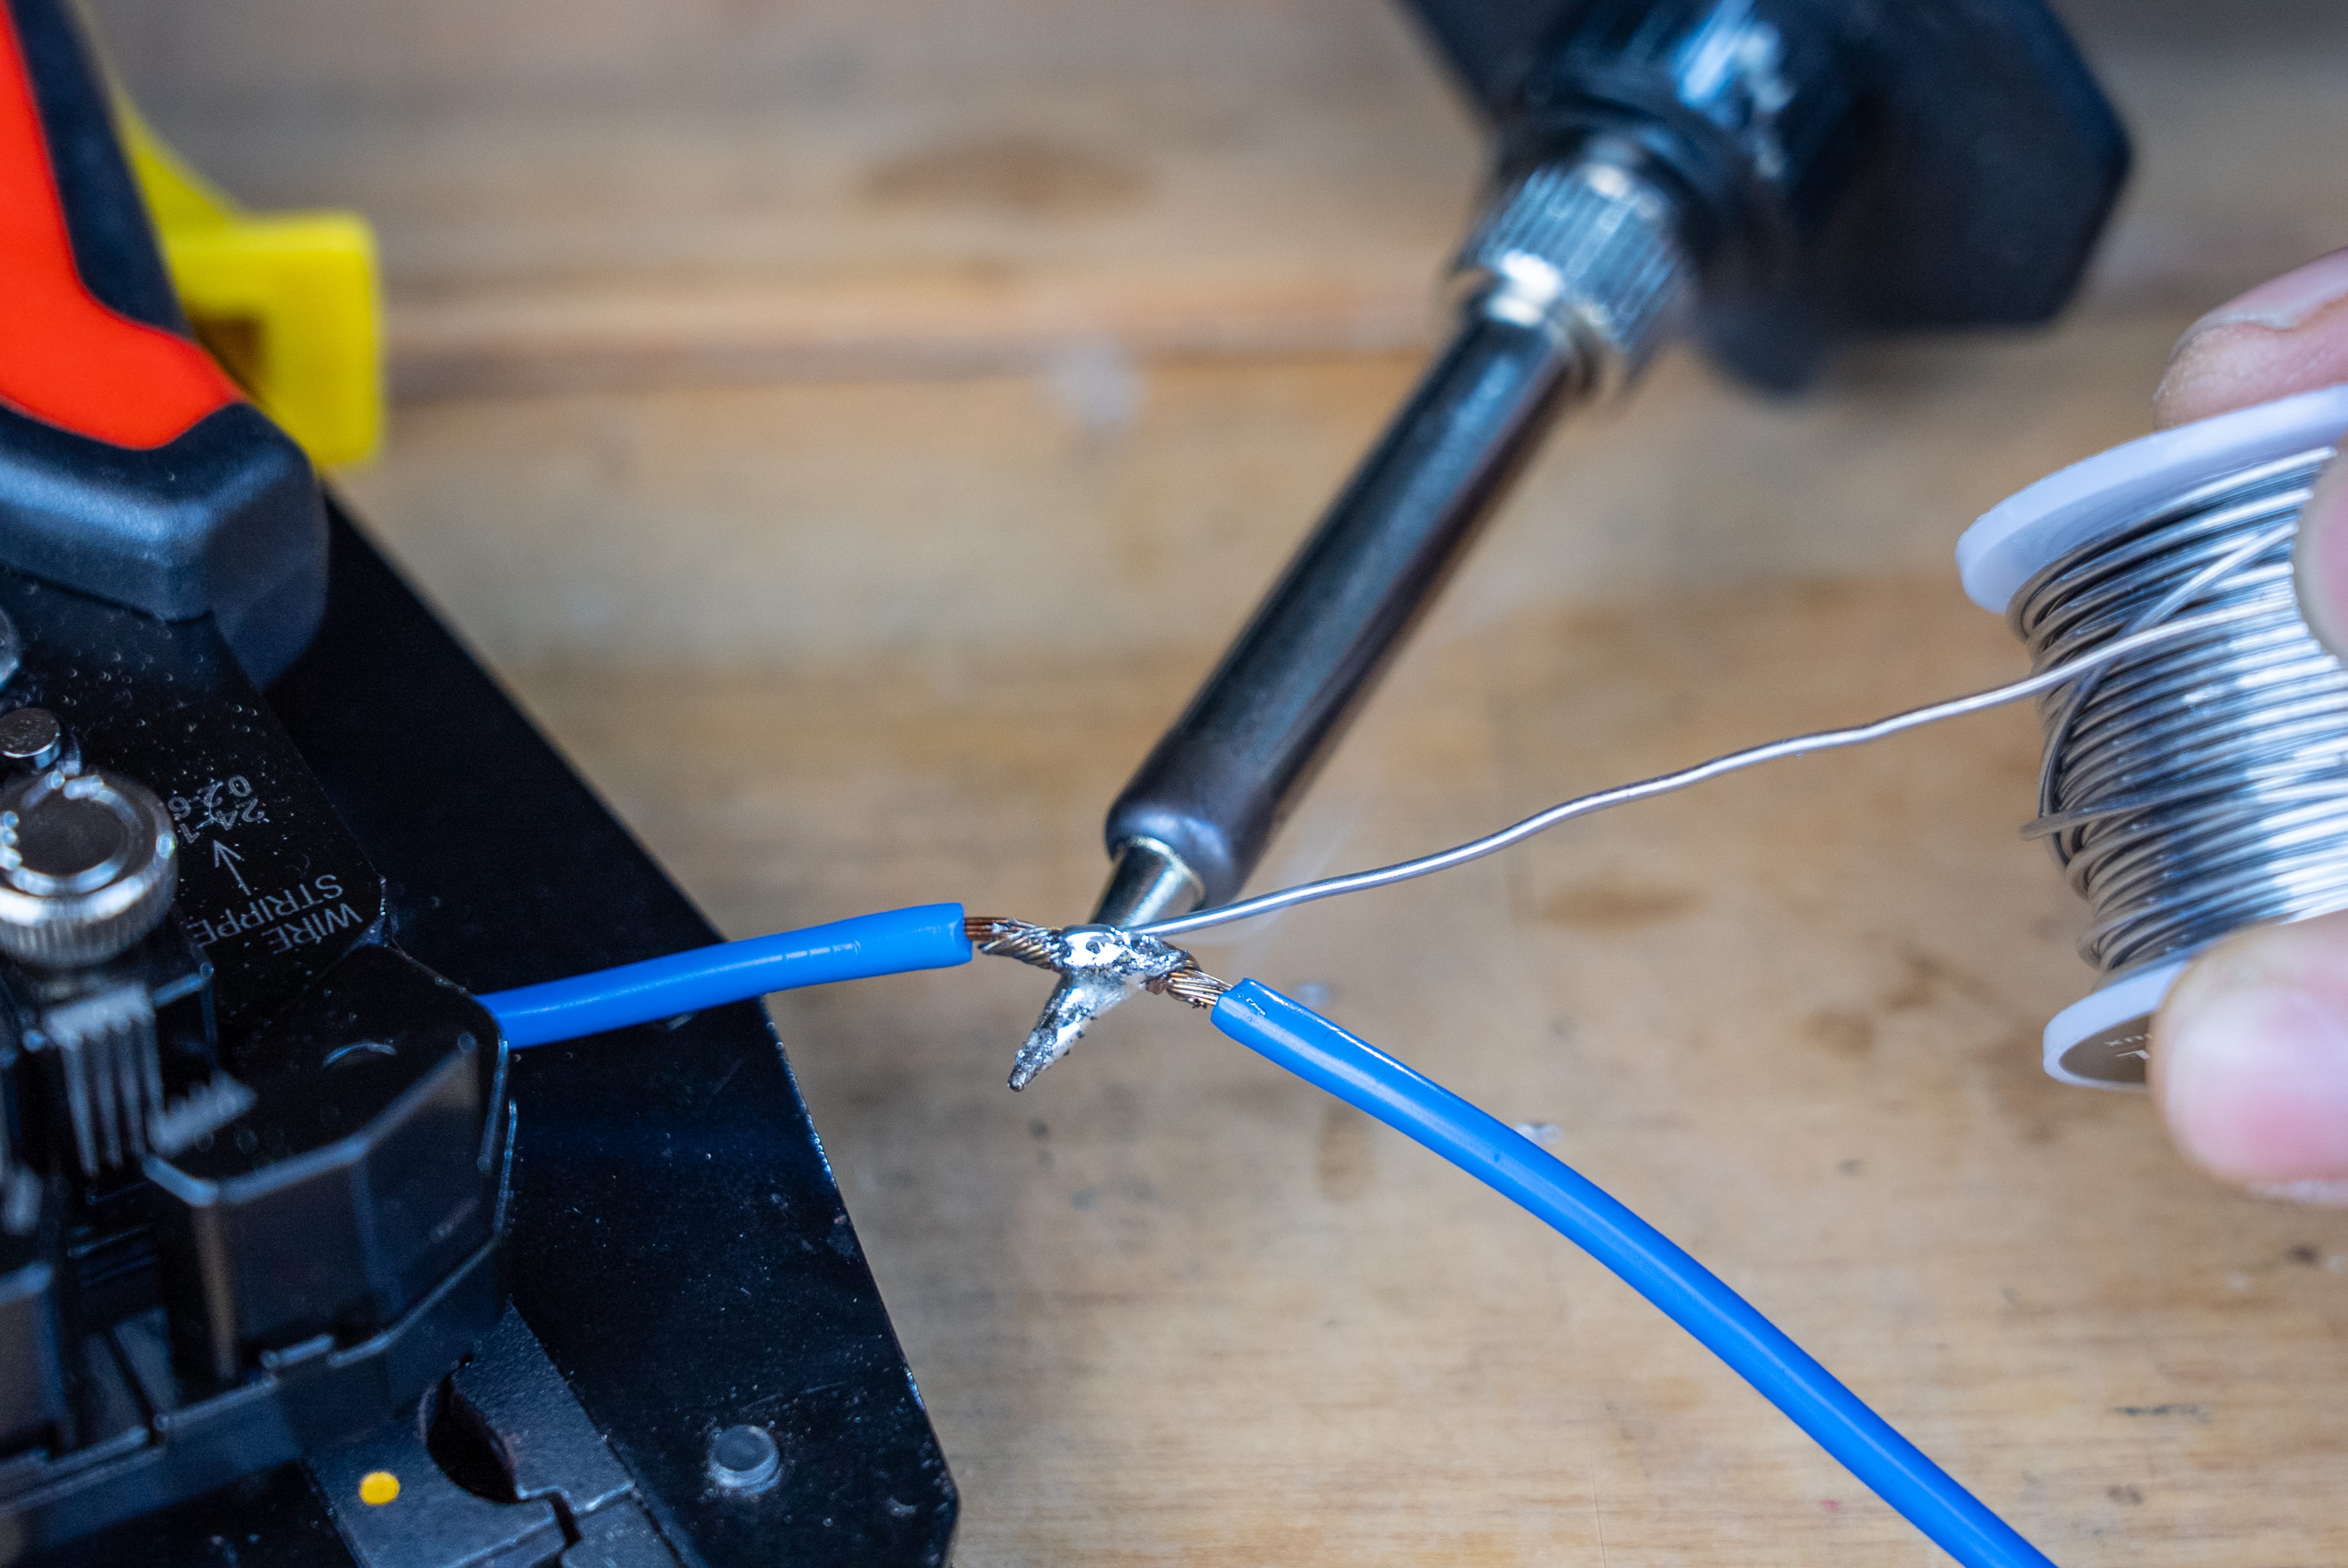
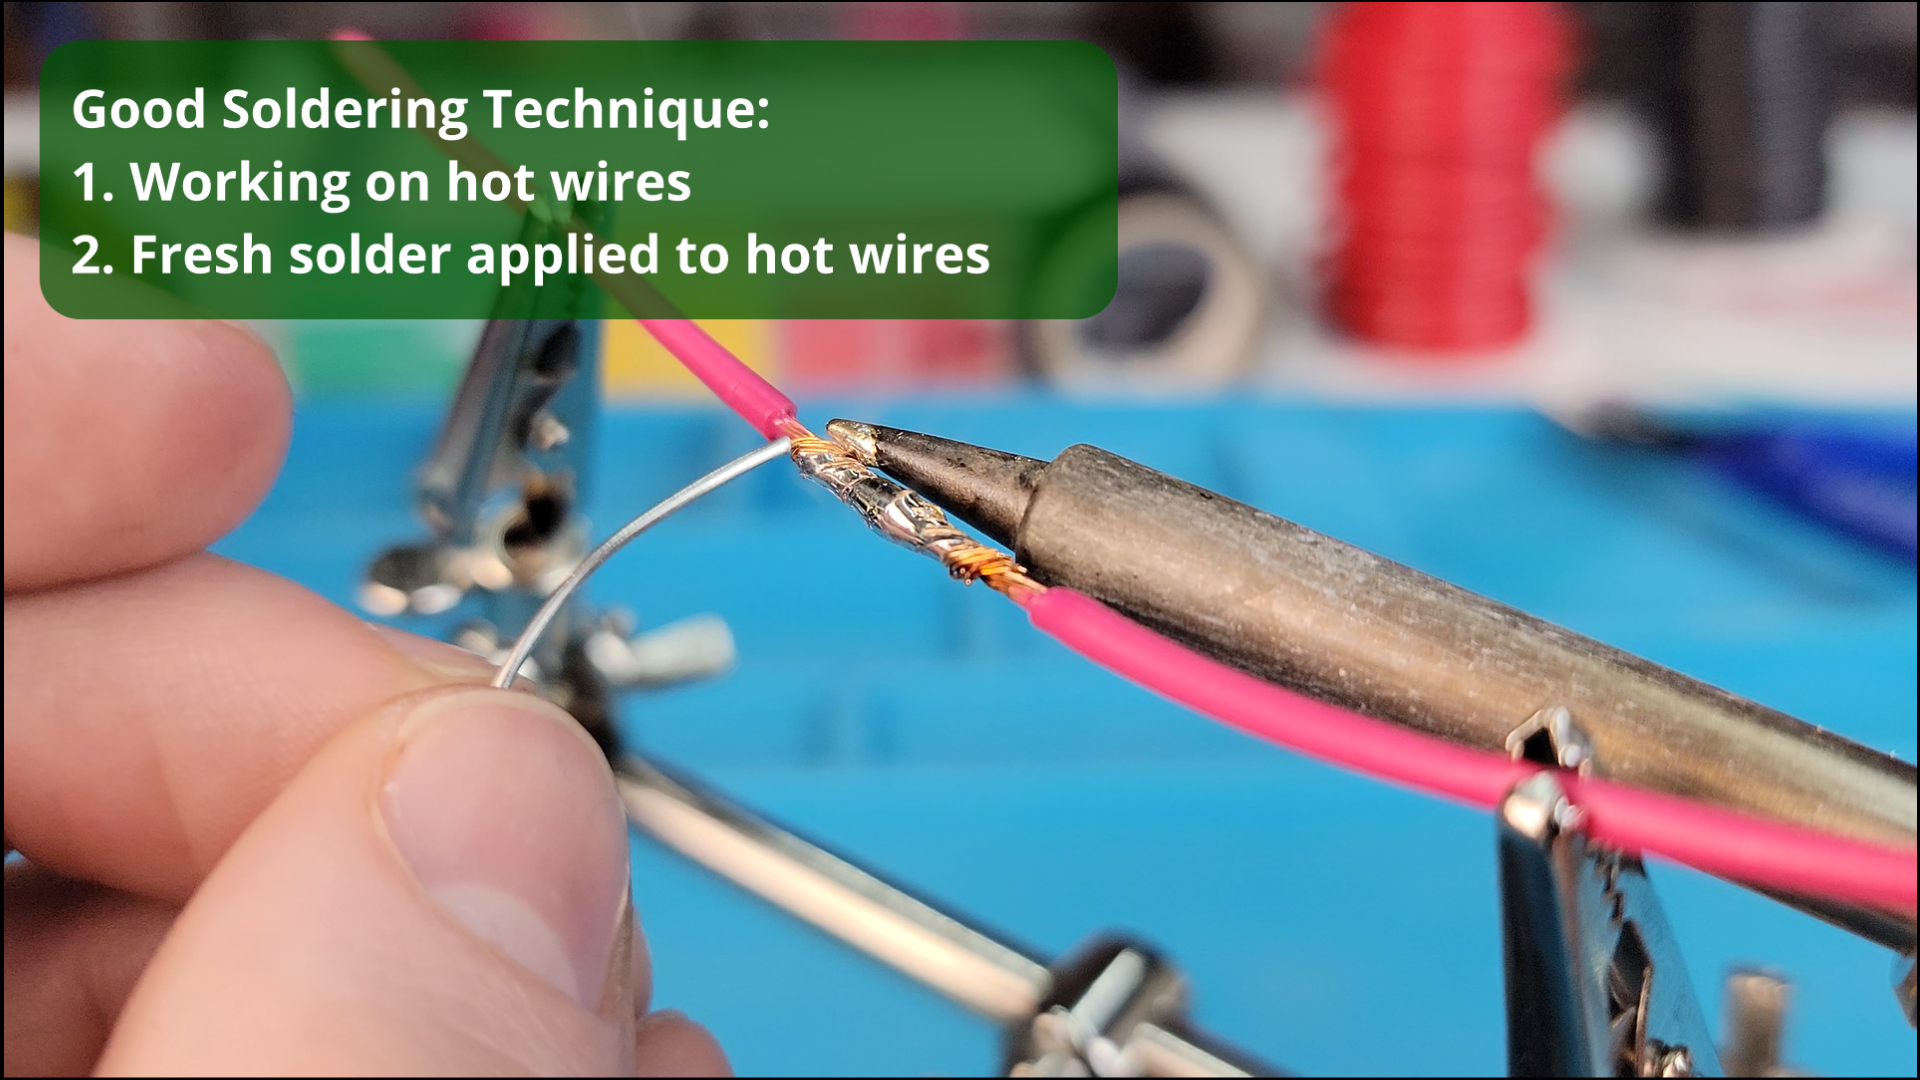
Your journey begins by preparing your wires. Strip a small amount of insulation from the ends you want to join, exposing the copper strands. If they’re stranded wires, give them a gentle twist to neaten them up. Next, heat up your soldering iron. Once it's hot (usually around 350-400°C), you'll want to "tin" the tip – melt a tiny bit of solder onto it to help with heat transfer and prevent oxidation. Now for the magic: bring the two wires you want to join together. With one hand, use the soldering iron to heat both wires simultaneously at their junction. It’s important to heat the wires themselves, not the solder directly. After a couple of seconds, touch the solder to the heated wires. The solder should melt and flow smoothly into the joint, creating a shiny, cone-shaped connection. Do not apply the solder directly to the iron tip; let the heated wires melt it.

Once the solder flows, remove the solder wire first, then lift the soldering iron. Hold the wires steady for a few seconds as the solder cools and solidifies. You're looking for a shiny, smooth, and concave joint – like a tiny volcano. A dull, lumpy joint, known as a "cold solder joint," indicates insufficient heat and needs to be redone. With a little practice, you'll be making perfect connections in no time. The feeling of seeing your first flawless joint is incredibly satisfying!
Soldering opens up a world of possibilities, from repairing broken headphones and charging cables to building complex electronic projects from scratch. It’s a foundational skill for anyone interested in electronics, robotics, or simply extending the life of their beloved gadgets. So, grab a kit, watch a few online tutorials, and prepare to embark on a genuinely fun and incredibly useful journey into the art of making perfect electrical connections!

.png?format=1000w)