
Hey there, fellow fish-parent! Ready to add some pizzazz and oxygenated awesomeness to your underwater world? Setting up an air pump for your aquarium might sound a bit like rocket science, but I promise you, it's more like connecting a really cool, bubbly, fish-friendly LEGO set. No engineering degree required, just a desire for happy fish and mesmerized glances at your tank. Let's get those bubbles bubbling!
Why Bother with Bubbles?
Good question! While your fish aren't going to host a bubble bath party (unless they're really advanced), air pumps do a couple of super important jobs. Firstly, they help with gas exchange, basically making sure your finned friends have plenty of oxygen and that yucky carbon dioxide gets kicked out. Think of it as opening a window for your fish. Secondly, they create circulation, helping to move water around and prevent stagnant spots. Plus, let's be honest, those rising streams of bubbles from an air stone look super cool and relaxing. It’s like a mini, aquatic spa experience!
What You'll Need for Your Bubble Extravaganza
Gather 'round, future bubble master! Here’s your toolkit:
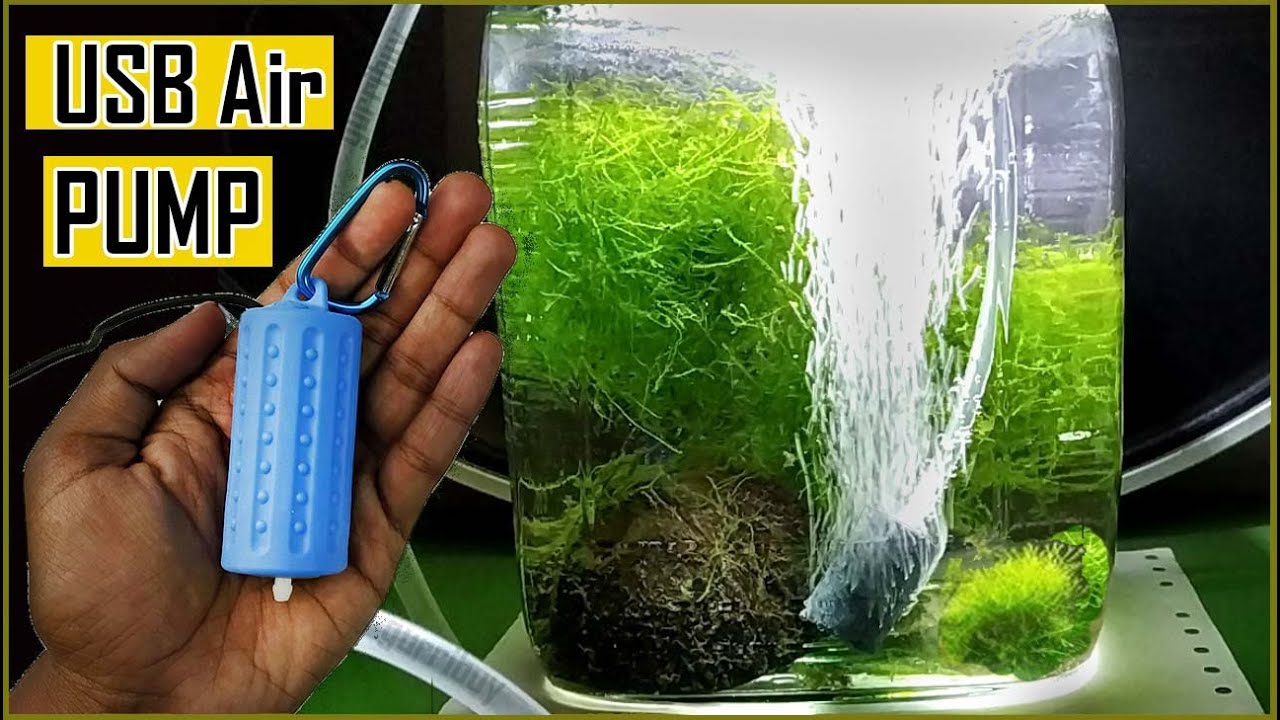
- An Air Pump: This is the heart of the operation, pumping air (duh!). Make sure it's sized appropriately for your tank. Too small, and your fish might give you the side-eye; too big, and your tank might look like a jacuzzi on overdrive.
- Airline Tubing: The clear, flexible straw that carries the air from the pump to the tank. It’s usually pretty cheap and you might even get some with your pump or air stone.
- An Air Stone: This little porous gadget attaches to the end of the tubing inside your tank and breaks the air into tiny, pretty bubbles. Because big gurgling bubbles are just not as aesthetic, right?
- A Check Valve: STOP! This is incredibly important! We’ll talk more about it, but trust me, you absolutely, positively need one of these unless your pump is magically above your tank’s water level.
- Suction Cups (Optional, but Handy): Great for securing your tubing or air stone in place.
Let's Get Setting Up! (It's Easier Than You Think)
Step 1: Place Your Pump (Location, Location, Location!)
First things first, find a good home for your air pump. Ideally, you want it somewhere above the water level of your aquarium. Why? Gravity, my friend! If your pump is below the water level and the power goes out, your tank could decide to siphon water out through the airline tubing, leading to a rather damp (and potentially electrocuted) floor. Not fun. If you absolutely have to place it below, that's where our superhero, the check valve, comes in!
Also, pumps can be a little buzzy. Try placing it on a soft surface, like a towel or a piece of foam, to dampen the vibration and noise. Your ears (and your neighbours) will thank you.
Step 2: Connect the Tubing – The Air's Highway
Take your airline tubing and connect one end to the small nozzle on your air pump. It should just slide right on. If it's a bit snug, a quick dip in warm water can make the tubing more pliable. Easy peasy!
Step 3: The Check Valve – Your Tank's Guardian Angel
Alright, time for the MVP: the check valve. This little hero allows air to go one way only – from the pump into the tank. If the power fails, it stops water from siphoning back out. Look closely, and you’ll see an arrow on the valve; make sure this arrow points towards your aquarium. Connect the tubing from your pump to one end of the check valve, then connect another piece of tubing from the other end of the check valve all the way to your air stone.

Seriously, don't skip the check valve! It's the difference between a minor setup and a major watery disaster.
Step 4: Air Stone Goes In!
Now, attach the free end of the tubing (the one coming from the check valve) to your air stone. Plop the air stone into your aquarium, usually nestled amongst your decorations or gravel. You can use a suction cup to keep it in place if it tends to float or wander off like a curious snail. The deeper you place it, the longer the bubble trail, which can look pretty awesome!

Step 5: Power Up and Watch the Magic!
Once everything is connected and in place, plug in your air pump. You should instantly see a glorious stream of bubbles rising from your air stone! If your pump has an adjustable flow, you can tweak it to get just the right amount of bubbles – not so much that your fish feel like they’re in a blender, but enough to create that lovely aeration.
Step 6: Quick Check and Troubleshooting
Not bubbling? Check these things:

- Is the pump plugged in and turned on? (Hey, it happens!)
- Is the tubing kinked or blocked?
- Is the check valve oriented correctly (arrow pointing towards the tank)?
- Is the air stone clogged? Sometimes a new one fixes it.
Too many bubbles? Adjust the flow if your pump allows, or you can add an air control valve (a tiny plastic tap) to your tubing for finer tuning. Just make sure the pump isn't working too hard against a closed valve.
Enjoy Your Bubbling Paradise!
And there you have it! You’ve successfully transformed your aquarium into a lively, oxygen-rich haven. Your fish are doing happy little fin wiggles, your plants are thriving, and your tank just got a major aesthetic upgrade. Plus, watching those steady streams of bubbles is incredibly calming after a long day. It’s your own little piece of underwater zen.
So, go forth and bubble on, my friend! You’ve brought more life and joy to your aquatic companions, and that's something truly special. Keep an eye on those happy fish, and enjoy the beautiful, bubbly world you've created!