
Ever looked at an everyday object and thought, "I wish I could just make one of those myself"? Or maybe you've had a brilliant idea for a gadget, but it felt impossible to bring to life? Well, my friend, get ready to unlock a superpower, because 3D printing is here to turn your wildest (and most practical!) ideas into tangible reality!
Forget what you think you know about manufacturing; this isn't just for big factories anymore. 3D printing has become incredibly accessible, and trust me, it's not just a cool gimmick – it's an absolute blast! Imagine being able to print a custom chess piece, a unique phone stand, or even a replacement part for that thingamajig that broke last week. The possibilities are truly as endless as your imagination.
Why Bother Printing in 3D? Because It's FUN!
Why should you care about pushing plastic out of a nozzle? Simple: pure, unadulterated creative joy! You get to be the inventor, the designer, the manufacturer.
Need a personalized gift that nobody else has? Print it! Want to fix a broken tab on your remote control instead of buying a whole new one? Print it! Dream of a tiny, articulated dragon figurine to guard your desk? You guessed it – print it! It’s empowering, it’s problem-solving, and it’s surprisingly satisfying to watch your digital dreams materialize, layer by tiny layer.
Okay, So How Do You Actually Do It? A Super Simple Guide
You're probably thinking, "Sounds great, but how do I even start?" Don't sweat it! The process is more straightforward than you might imagine. Let's break it down into a few simple steps.

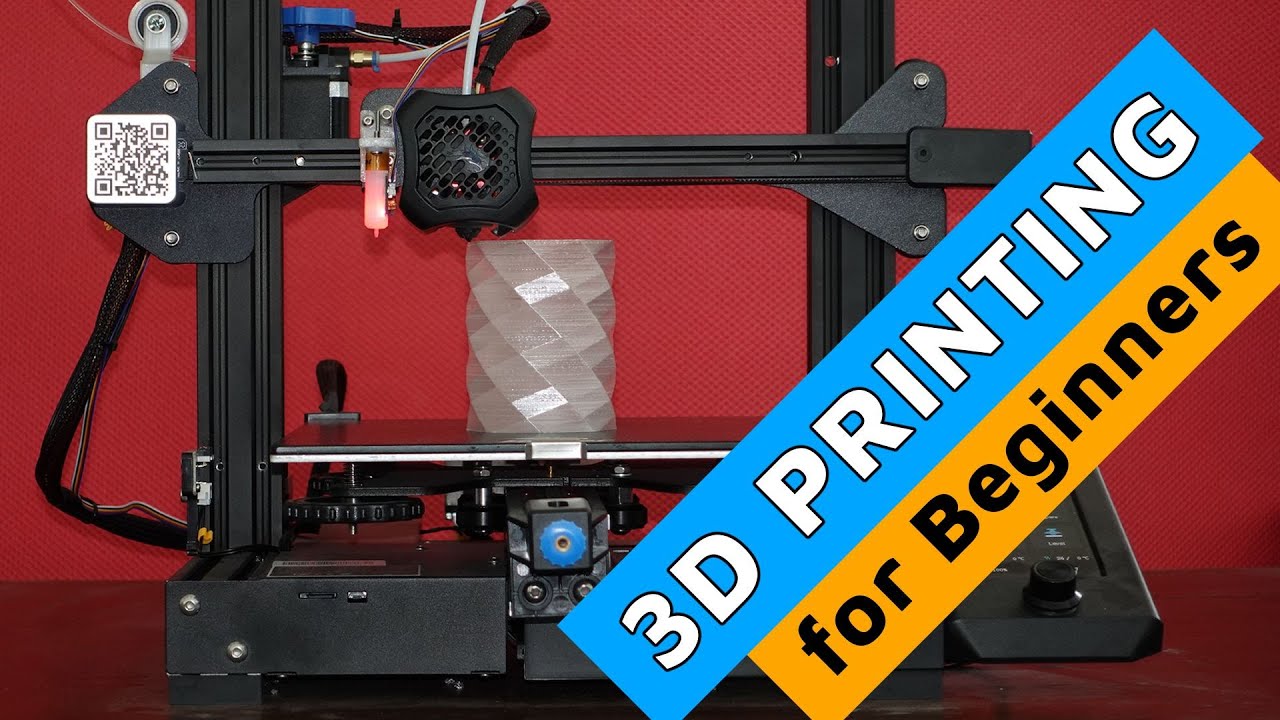
Step 1: Get Your Hands on a 3D Printer (or Find One!)
First things first, you need the star of the show! Entry-level 3D printers are more affordable and user-friendly than ever. Think of it like buying your first traditional printer – there are options for every budget and skill level. Many local libraries, schools, and makerspaces also offer access to printers, so you don't even need to buy one right away to dip your toes in!
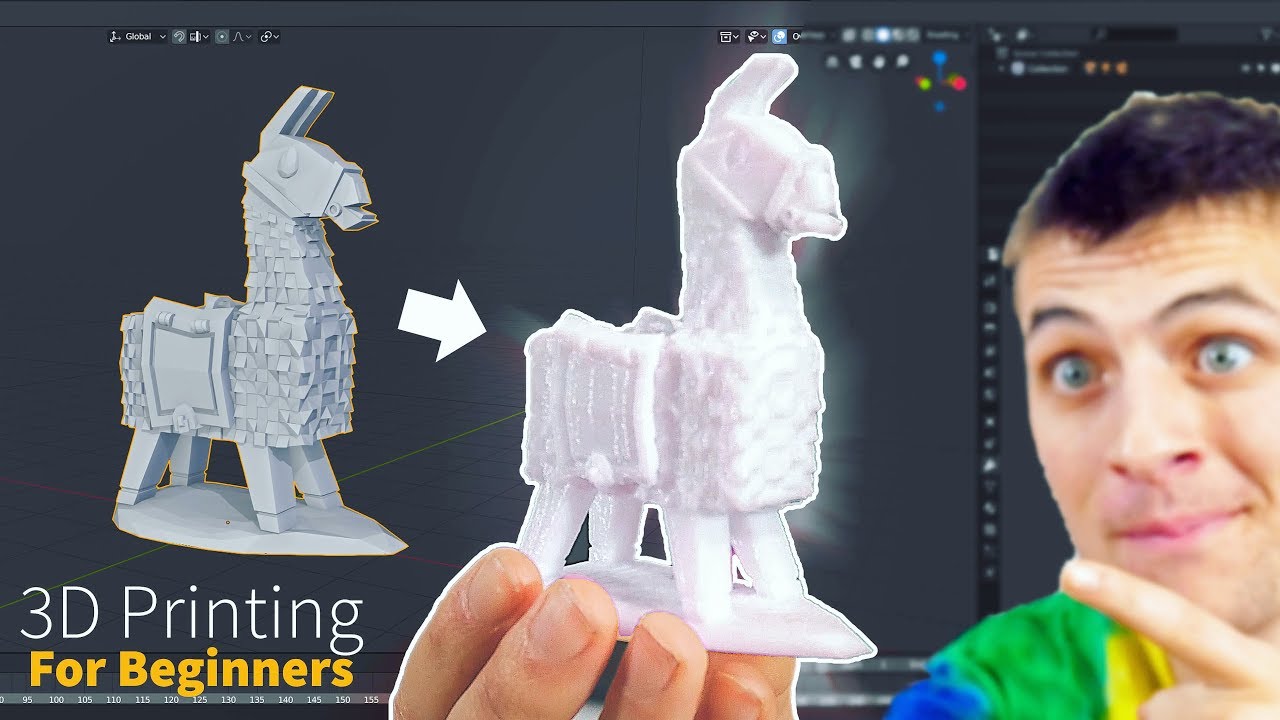
Step 2: Find (or Design!) Your 3D Model
This is where the magic truly begins – deciding what you want to print!
- Download Existing Designs: Websites like Thingiverse, Printables, and MyMiniFactory are treasure troves of free, ready-to-print models. Search for "phone stand," "cookie cutter," or "cool miniature," and you'll find thousands of options. It's like a digital toy store!
- Design Your Own: Feeling adventurous? User-friendly software like Tinkercad (it's free and web-based!) lets you design simple objects with surprising ease. Imagine creating a custom-sized organizer for your desk drawers – you can do that!
Step 3: Slice It Up! (Sounds Intense, It's Not)
Once you have your 3D model, you need to tell the printer exactly how to build it. This is where "slicer" software comes in (popular ones are Cura or PrusaSlicer). The slicer takes your 3D model and "slices" it into hundreds, sometimes thousands, of thin layers.
It then generates a set of instructions called G-code, which is basically the printer's recipe for building your object, layer by precise layer. Don't worry, these programs are surprisingly intuitive, and for most beginners, the default settings work wonderfully. You just press a button, and the software does its wizardry.
Step 4: Load Your Filament (The "Ink" of 3D Printing)
Unlike paper printers that use ink cartridges, 3D printers use filament – long strands of plastic that come wound on a spool. The most common type for beginners is PLA (Polylactic Acid), which is derived from renewable resources like corn starch, so it's relatively eco-friendly!
And the colors! Oh, the colors! You can get filament in virtually any shade imaginable, from glow-in-the-dark to shimmering metallic. Loading it is a simple process: just feed the filament into a designated spot on your printer, and it’ll warm up and start to extrude a bit. Voila, you're ready to print!
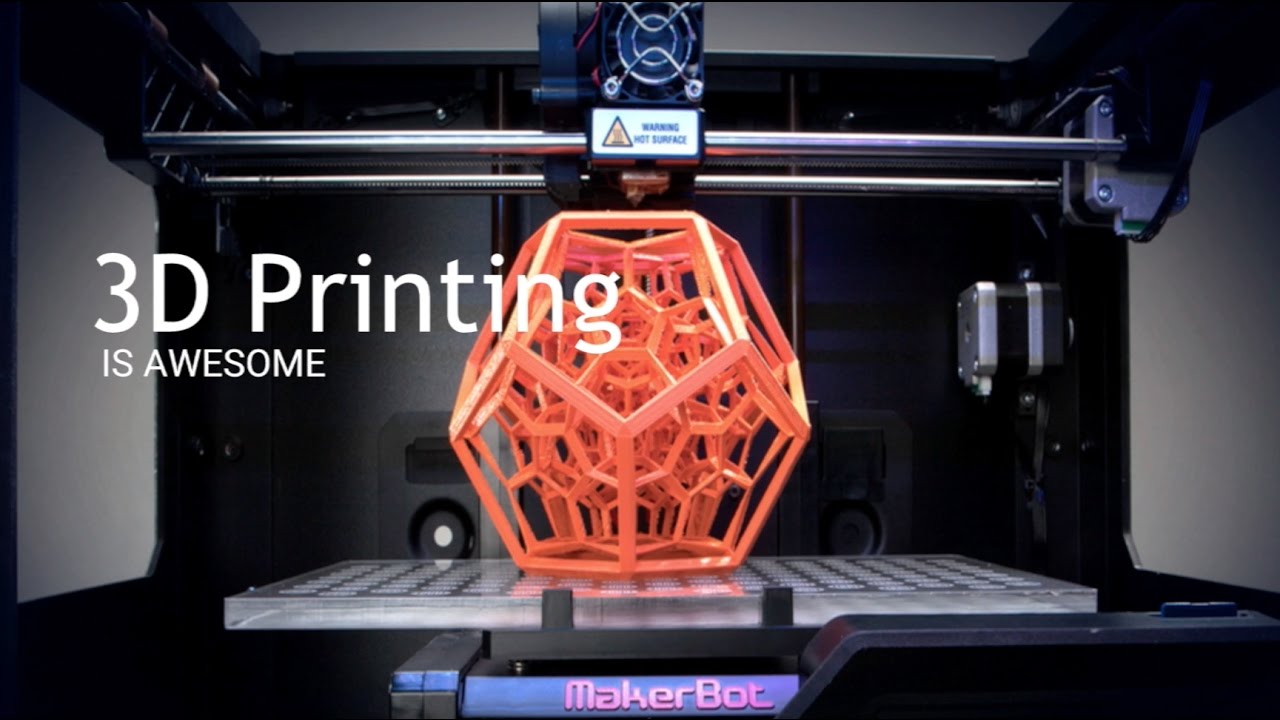
Step 5: Hit Print and Watch the Magic!
The moment of truth! Load your G-code file (usually via an SD card or USB) into your printer. Make sure your print bed is clean and level (a quick, important step!), then press "Print."
Then, prepare to be mesmerized! The print head will start moving, heating the filament, and carefully extruding thin lines of plastic onto the print bed. You'll see your design slowly, steadily, and almost magically rise from nothing. It’s like watching a tiny robot sculptor at work. Grab a coffee, snap a pic, and enjoy the show!
Step 6: Post-Processing (Often Just Peeling It Off!)
Once your print is finished (the printer will usually beep happily), you'll let it cool down a bit. Then, often with a gentle pry, you simply remove your newly created object from the print bed. Sometimes there are tiny "supports" (like scaffolding) that you can easily snap or snip off, and perhaps a bit of light sanding for a smoother finish. But honestly, many prints are perfect right off the bed!
Embrace the Journey, Not Just the Destination
Will every print be perfect the first time? Probably not! And that's absolutely part of the fun. 3D printing is a journey of learning, tinkering, and problem-solving. A failed print is just a step towards a successful one. There's a huge, friendly online community ready to help with any hiccup you encounter, turning potential frustrations into rewarding learning experiences.
So, what are you waiting for? The world of 3D printing is an open invitation to unleash your inner innovator, crafter, and problem-solver. It’s a hobby that bridges the digital and physical, offering a unique blend of technical skill and boundless creativity.
Imagine the satisfaction of holding something in your hand that, just hours before, was nothing more than an idea in your head or pixels on a screen. That's the power of 3D printing, and it's within your reach. Go ahead, explore a makerspace, watch a few YouTube videos, or just start dreaming up what you'd print first. The future is literally taking shape, and you can be a part of printing it!