Ever looked at a raw piece of metal, perhaps a rusty old garden gate or a forgotten frame, and envisioned something entirely new? There’s a powerful satisfaction in taking inert materials and, with a bit of heat and skill, transforming them. Learning to operate a welding machine might sound like something out of a heavy industrial factory, but in reality, it’s an incredibly accessible skill for the modern DIY enthusiast, artist, or even just someone who loves the idea of fixing things themselves. Think of it as painting with fire, a creative outlet that delivers both function and a hefty dose of cool points.
Gear Up Like a Pro (Because Safety Rocks!)
Before you channel your inner metal maestro, let's talk about the absolute non-negotiables: safety gear. This isn't just a suggestion; it's your personal force field. You'll need a good auto-darkening welding helmet – it’s like having superhero vision, protecting your eyes from the intense bright light. Seriously, don't skimp here; your eyeballs will thank you.
Next up: heavy-duty welding gloves (leather is your friend), a welding jacket or long-sleeved, fire-resistant clothing to protect your arms and torso from sparks and UV rays, and closed-toe leather boots. Oh, and make sure your workspace is well-ventilated and free of flammable materials. Sparks fly, literally!
Meet Your Machine: The Mighty MIG
For beginners, the MIG welder (Metal Inert Gas) is often the easiest to get started with. Why? It's relatively forgiving, uses a continuous wire feed, and is often described as "point and shoot." It’s your trusty steed for tackling projects from garden art to light repairs. You’ll typically see a roll of wire inside, a gas cylinder (often argon/CO2 mix) if you’re doing "gas MIG," and a torch with a trigger.
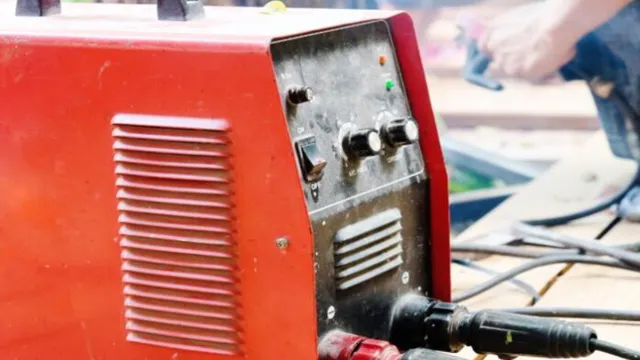
Your machine will have controls for wire speed and voltage. These two settings are the dynamic duo that determines the heat and how smoothly your weld will flow. It’s a bit like tuning a guitar; you need to find the right harmony for your specific metal thickness.

Prepping Your Canvas: Cleanliness is Key
Before any sparks fly, let’s talk prep. This step is often overlooked, but it’s crucial. Your metal needs to be clean – free of rust, paint, grease, and any other gunk. Use a wire brush, grinder, or sandpaper to get it shiny. Think of it as preparing a canvas for painting; you wouldn't paint over dirt, right? A clean surface ensures a strong, beautiful weld, free from impurities.
The Dance of the Arc: From Spark to Puddle
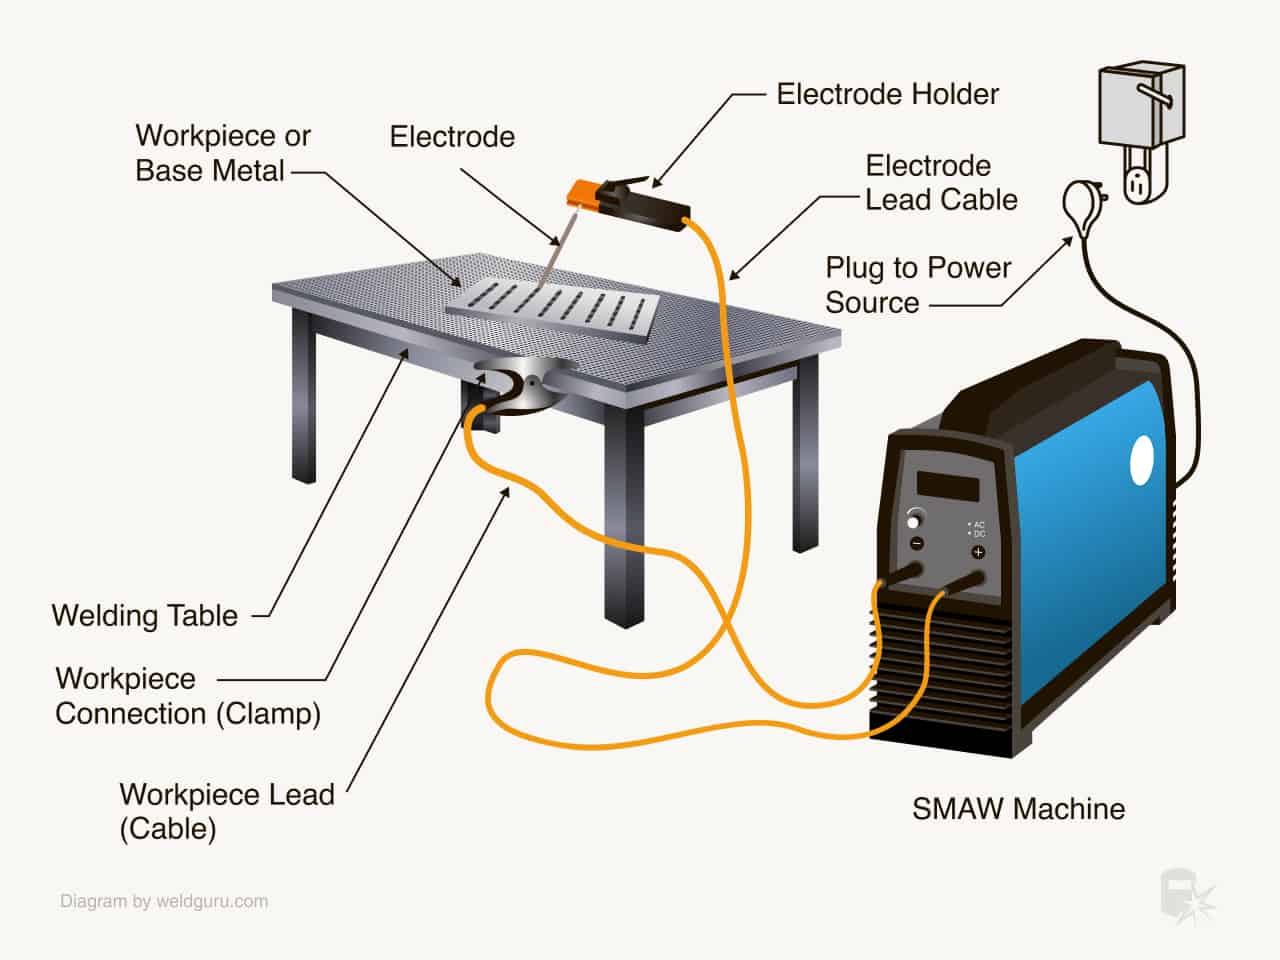
Alright, gear on, metal clean, machine plugged in. Now for the fun part! First, attach your ground clamp firmly to the piece of metal you’re welding (or the welding table). This completes the electrical circuit. Without a good ground, nothing happens.
Now, hold the torch about 1/4 to 1/2 inch from your metal. Press the trigger. You'll hear a buzzing sound, and an intense bright light – that’s your arc! Don't stare at it without your helmet down, obviously. Immediately, a small pool of molten metal will form – this is your weld puddle. This is where the magic happens!
Your goal is to move the torch steadily along your joint, creating a consistent weld bead. You're trying to achieve a small, rhythmic motion – either pushing the torch away from your puddle (often preferred for MIG) or pulling it towards you. Think of drawing tiny circles, C's, or Z's. The key is to keep that molten puddle in front of your arc.

Listen to the sound; a good weld often sounds like sizzling bacon or a steady, crisp buzz. If it's spluttering like an angry popcorn maker, your settings might be off – too much wire speed or too little voltage, perhaps. Practice on scrap metal. Embrace the ugly welds; they're your best teachers!
A Few Sparks of Wisdom & Fun Facts
- The "Welding Song": A consistent, even sizzle indicates good settings and proper technique. If it sounds erratic, adjust your wire speed or voltage.
- Cultural Nod: Remember Jennifer Beals' iconic welding scene in Flashdance? Welding has long been a symbol of gritty determination and creative expression. Even Boba Fett’s helmet in Star Wars looks like it’s been through some DIY welding sessions!
- The Smell: You might notice a distinctive, slightly metallic, ozone-like smell. That's totally normal, but good ventilation is key to avoid inhaling too much.
- Beyond Repair: Welding isn't just for fixing things. Many artists create incredible sculptures, furniture, and decorative pieces with welders. It's a tool for boundless creativity!
Connecting the Dots: More Than Just Metal
Learning to weld is more than just acquiring a new skill; it’s an exercise in patience, precision, and problem-solving. It teaches you to respect materials, understand the delicate balance of heat and speed, and see potential in what others might dismiss as junk. It's about taking two separate pieces, applying focused energy, and forging them into a stronger, unified whole.
And isn't that a beautiful metaphor for life? Whether you're mending a broken fence or mending a relationship, finding that perfect balance, applying just the right amount of heat, and moving forward with a steady hand can lead to incredibly strong and lasting connections. So go on, strike that arc, and discover the welder within!