Imagine being able to make exact copies of your favorite trinket, crafting a unique series of custom gifts, or even launching a small business centered around your own bespoke designs! That's the enchanting world of 3D silicone mold making, a hobby that's exploding in popularity for its blend of artistic expression and practical application. It's not just about replication; it's about bringing your imagination to life and holding it in your hands, again and again, with stunning precision. It’s a creative superpower many people are discovering, and once you dip your toes in, you’ll see why!
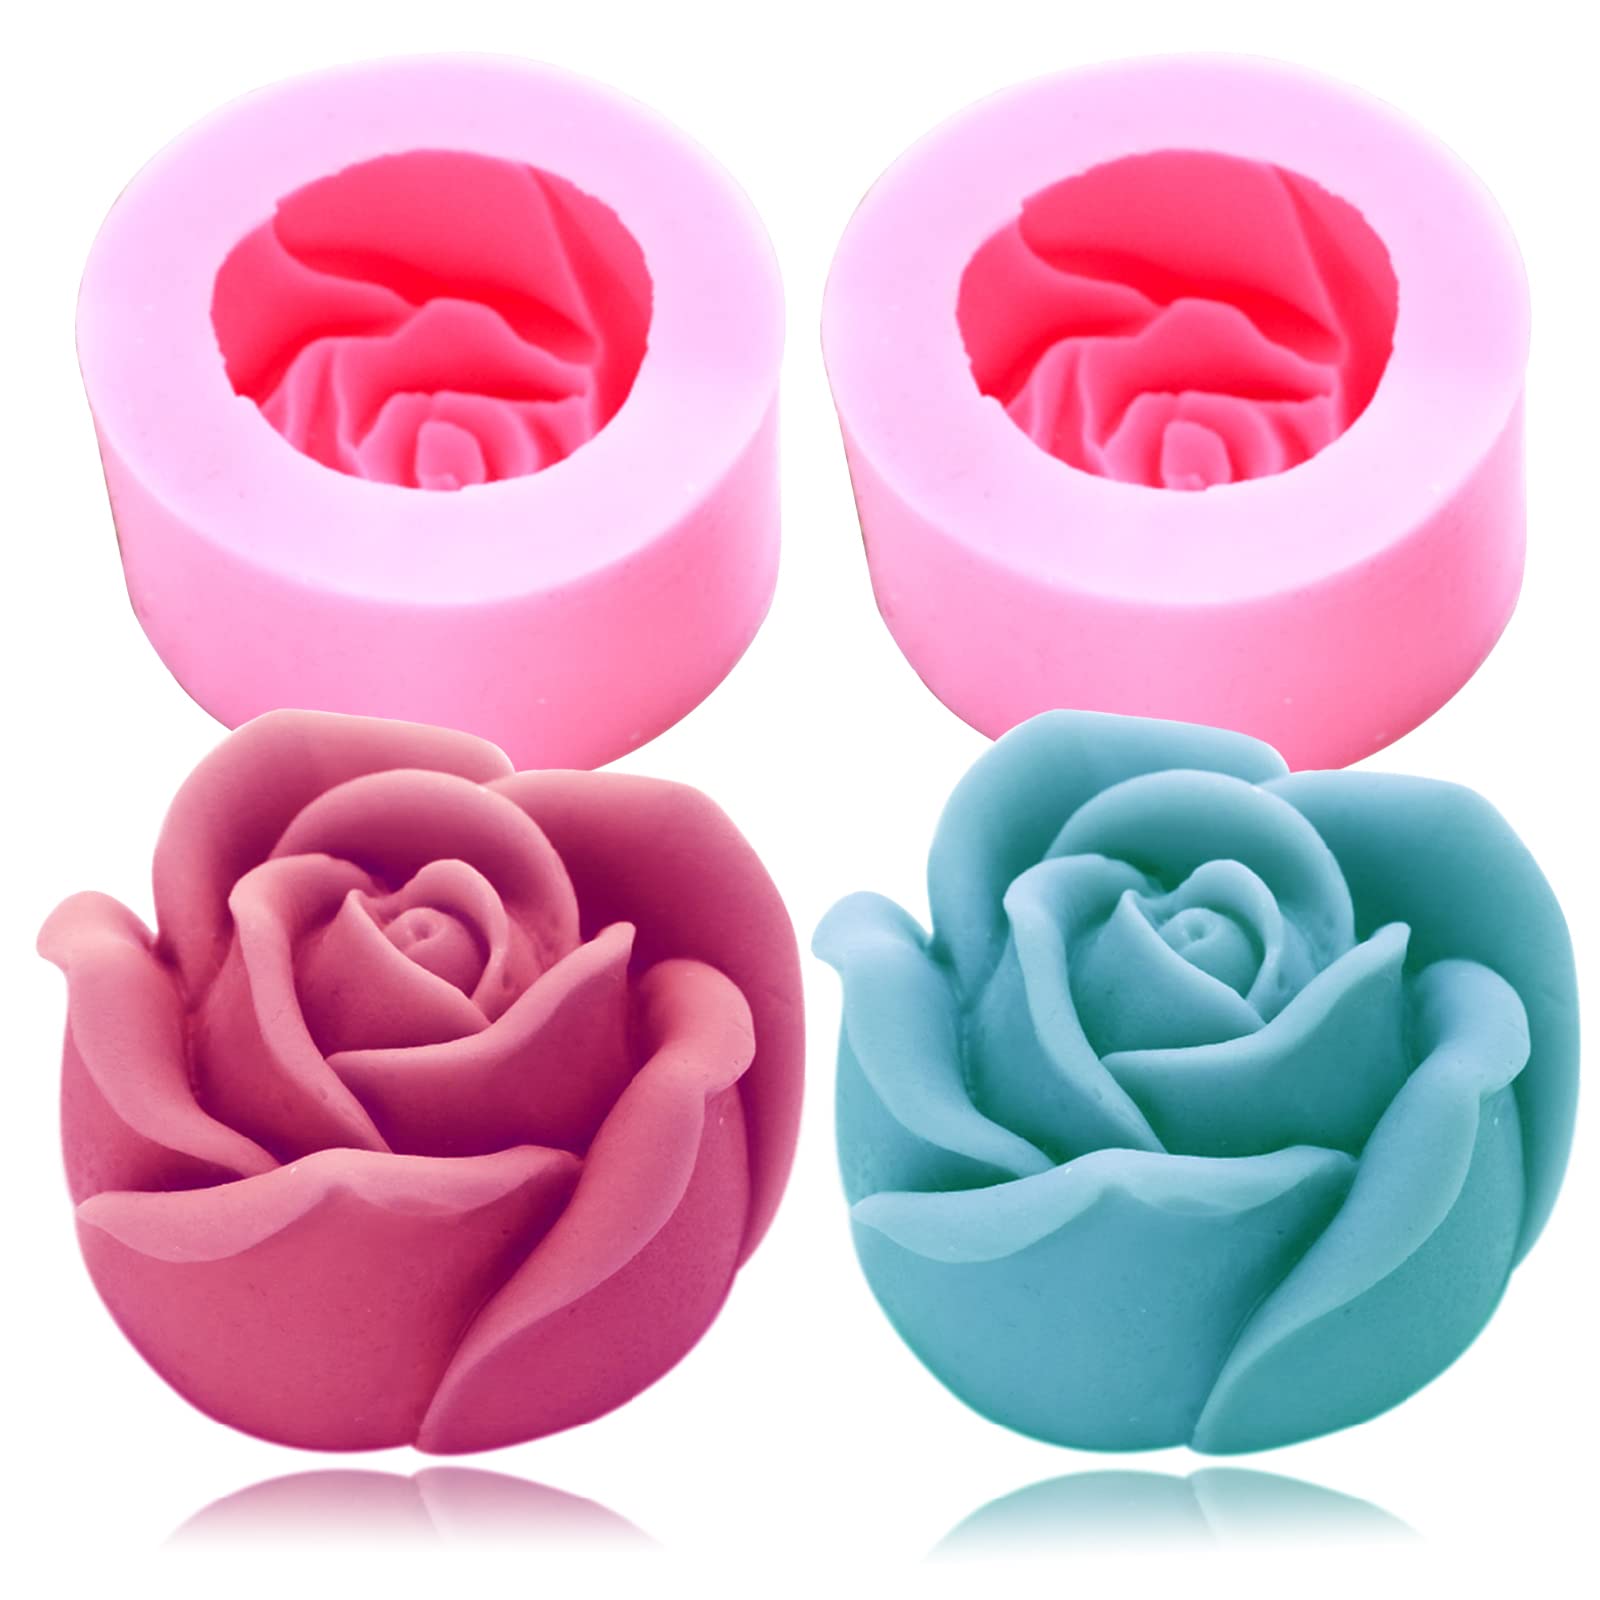
From crafting stunning resin jewelry and personalized soaps to intricate concrete planters, unique candles, and even delicate chocolates or ice cubes for themed parties, silicone molds are the unsung heroes of countless DIY projects. They offer unparalleled flexibility and incredible detail capture, allowing you to cast various materials with precision. The benefit? Limitless creativity at your fingertips! You can reproduce your own sculptures, create custom prototypes, or even make special themed party favors that no one else will have. It's about transforming an ordinary object into a template for endless possibilities, saving money on store-bought molds, and giving your creations that truly personal, professional touch. Imagine the joy of gifting something truly unique, made possible by your very own custom mold!
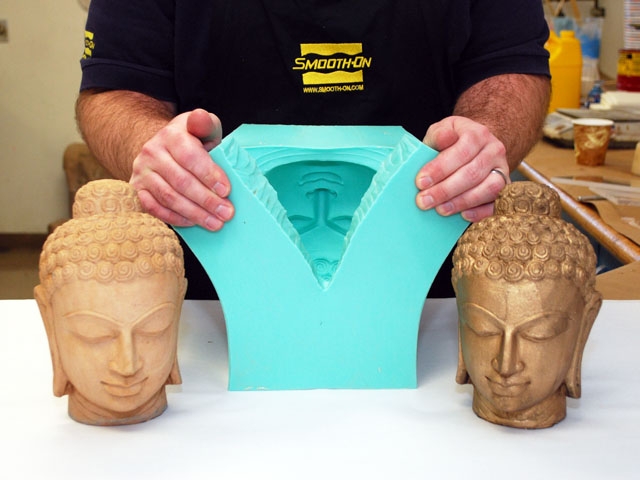
So, how does this seemingly magical transformation happen? It all starts with your original object, often called your "master" or "pattern." This can be anything from a carefully sculpted model you've created, to a cherished natural item like a beautifully textured seashell, or even a small, quirky toy. For complex 3D shapes, especially those with undercuts, you'll typically create a two-part mold. This involves strategically enclosing your master within a container, carefully pouring one half of the liquid silicone around it, letting it cure, then flipping it over. After creating registration keys (essential bumps and divots that ensure the halves align perfectly), you pour the second half. The silicone itself is usually a two-component system – a base and a catalyst – that you must carefully mix according to the manufacturer's instructions before pouring. Once poured, it flows smoothly, capturing every minute detail of your original object. After a specific curing time – which can range from a few hours to a day – you gently demold your master object. What's left behind is a perfect, reusable silicone negative space, ready to be filled with resin, wax, soap, concrete, or even edible materials! The satisfaction of seeing your master perfectly replicated in a flexible, durable mold is truly immense.
Making a 3D silicone mold might sound complex, but it's an incredibly rewarding journey that unlocks a universe of crafting potential. It's a skill that pays dividends in creativity, allowing you to replicate beauty, personalize gifts, and truly make your mark on the world, one perfectly cast object at a time. So, why not give it a try and see what amazing things you can mold into reality?