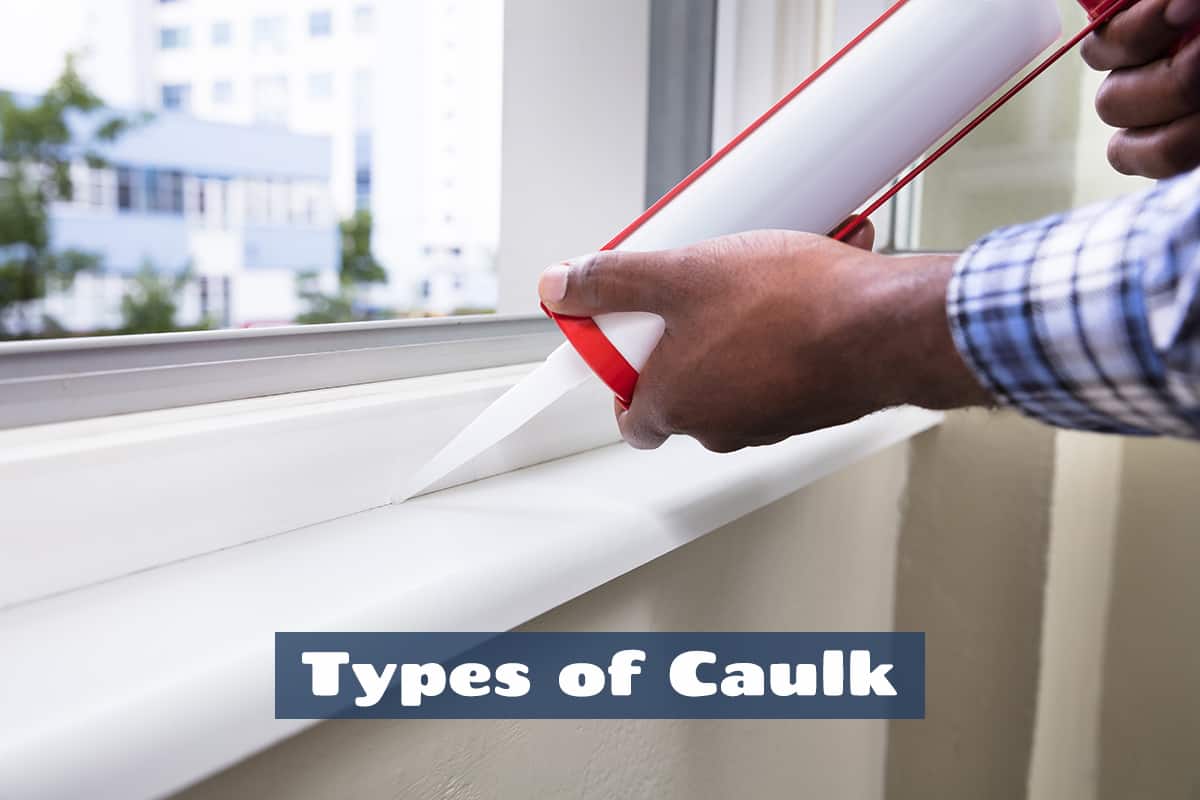
Picture this: You’re in the middle of a DIY project – maybe sealing a drafty window, touching up a shower seam, or finally getting around to that tiny gap around the baseboard. You just need a little bit of caulk. You dig through your toolbox, find that trusty tube you opened… oh, ages ago? You squeeze the trigger, and… nothing. Or worse, a crusty, crumbly mess emerges, followed by the sickening realization that the entire tip, and probably a good inch or two inside, has fossilized into an unyielding monument of wasted potential.
Yep, we’ve all been there. That moment when you’re staring at a half-used tube, knowing you just have to toss it, and feeling that little pang of regret (and maybe a touch of anger at the universe for this cruel trick). It’s like buying a giant tub of ice cream, taking two spoonfuls, and then finding it freezer-burned beyond recognition a week later. Unacceptable!
That frustration, my friends, is what led me down a rabbit hole of discovery. I refused to accept that a partial tube of caulk was destined for the landfill. There had to be a way to keep that gooey goodness fresh and ready for its next mission. And guess what? There absolutely is! It’s not rocket science, but it does require a tiny bit of proactive thinking.
Why Does Caulk Harden Anyway? The Nitty-Gritty (but not too gritty)
Before we dive into the solutions, let’s quickly understand the enemy: air. Most caulk, whether it's latex, acrylic, or silicone, cures and hardens when exposed to air. When you snip that tip open, you've essentially opened the floodgates for oxygen to start its curing process. The solvents evaporate, the polymers cross-link, and voilà – you’ve got a solid rather than a squeezable. Our goal? To stop that air from getting to the good stuff inside the tube. Simple enough, right?
The Golden Rule: Seal That Tip Like Your DIY Future Depends On It!
This is your absolute first line of defense, and honestly, the most crucial. Neglect this, and the rest is just window dressing.
1. The Humble Screw or Nail Trick (My Personal MVP)
This is hands down my favorite, and probably the most common, method. After you’re done caulking and have released the pressure from your caulk gun (don't forget that step!), find a screw or a long nail that’s just a tad bit wider than the opening of your caulk tube. Gently, but firmly, twist it into the tip.
The trick here is to get it deep enough to act as a proper plug, not just a lid. You want it to physically displace the caulk inside the nozzle and create an airtight barrier. When you need it next, just unscrew the nail, and a tiny bit of cured caulk might come out with it, revealing fresh, ready-to-use product underneath. Brilliant, right?
2. The Caulk Cap (For the Aesthetically Pleasing DIYer)
Yes, these exist! Little rubber caps specifically designed to fit over caulk tips. If you're feeling fancy or just want a more professional look to your organized workshop (we can dream, right?), these are a great option. They fit snugly, create a good seal, and are reusable. Just make sure you clean any excess caulk off the tip before capping it, or it won't seal properly.
3. The Tape-It-Up Method (The Emergency Fix)
Ran out of screws? Lost your fancy caulk cap? Don't despair! Electrical tape or even sturdy painter's tape can come to the rescue. Wrap a few layers tightly around the tip, pressing down to create a good seal around the opening. It’s not as foolproof as a physical plug, but it's infinitely better than leaving it exposed. Just be prepared for a bit more cured caulk to pick out next time you use it.
Beyond the Tip: Supercharge Your Caulk's Lifespan with Air-Tight Storage
Sealing the tip is a fantastic start, but for truly long-term storage and ultimate freshness, a second layer of defense against air is a game-changer.

1. The Ziploc Bag Maneuver (Simple & Effective)
After you've sealed the tip (you did seal the tip, right?), slip the entire caulk tube into a heavy-duty freezer bag or a Ziploc bag. The key here is to squeeze out as much air as possible before sealing it shut. This creates a miniature vacuum, further isolating your caulk from its arch-nemesis, oxygen. It’s like putting your caulk in a little hibernation chamber.
2. The Airtight Container (The Ultimate Caulk Condo)
Got an old plastic food container or a sturdy storage bin with a good, sealing lid? This is your caulk's luxury apartment. Once the tip is sealed and maybe even bagged, place the tube inside the airtight container. This provides an additional physical barrier against air and helps protect the tip from accidental damage. Plus, it keeps your workshop looking tidier!
Bonus Wisdom for the Astute DIYer:
- Store Upright, Tip Down: Some pros swear by storing caulk tubes upright with the sealed tip facing down. The theory is that gravity helps keep the uncured caulk at the opening, minimizing air pockets at the top of the tube.
- Temperature Matters: Extreme heat or cold can mess with caulk. Avoid storing tubes in a scorching hot garage in summer or a freezing shed in winter. A cool, dry, stable environment (like a utility closet or a basement shelf) is ideal.
- Date It!: When did you open that bad boy? Jot the date on the tube with a marker. Even with perfect sealing, caulk doesn't last forever. Knowing its age helps you prioritize which tube to use first and prevents surprises.
Saving a tube of caulk might seem like a small win in the grand scheme of home improvement, but honestly, it adds up! Less waste, less frustration, and more money in your pocket for… well, more DIY projects, obviously! So, the next time you finish a caulking job, take those extra thirty seconds. Your future self (and your wallet) will definitely thank you for that fresh, ready-to-go goo. Happy caulking!