Alright, gather ‘round, folks, pull up a digital chair. Have you ever experienced that moment? You know, when your air conditioner kicks on, and it sounds less like a refreshing breeze and more like a disgruntled monster clearing its throat? Or perhaps your lights dim for a split second, as if your house briefly considered giving up the ghost? That, my friends, is your AC unit screaming, “SURPRISE!” as it guzzles power like a thirsty vampire after a long winter.
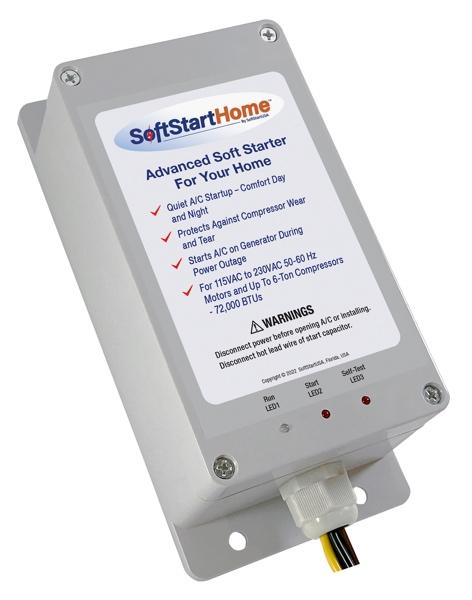
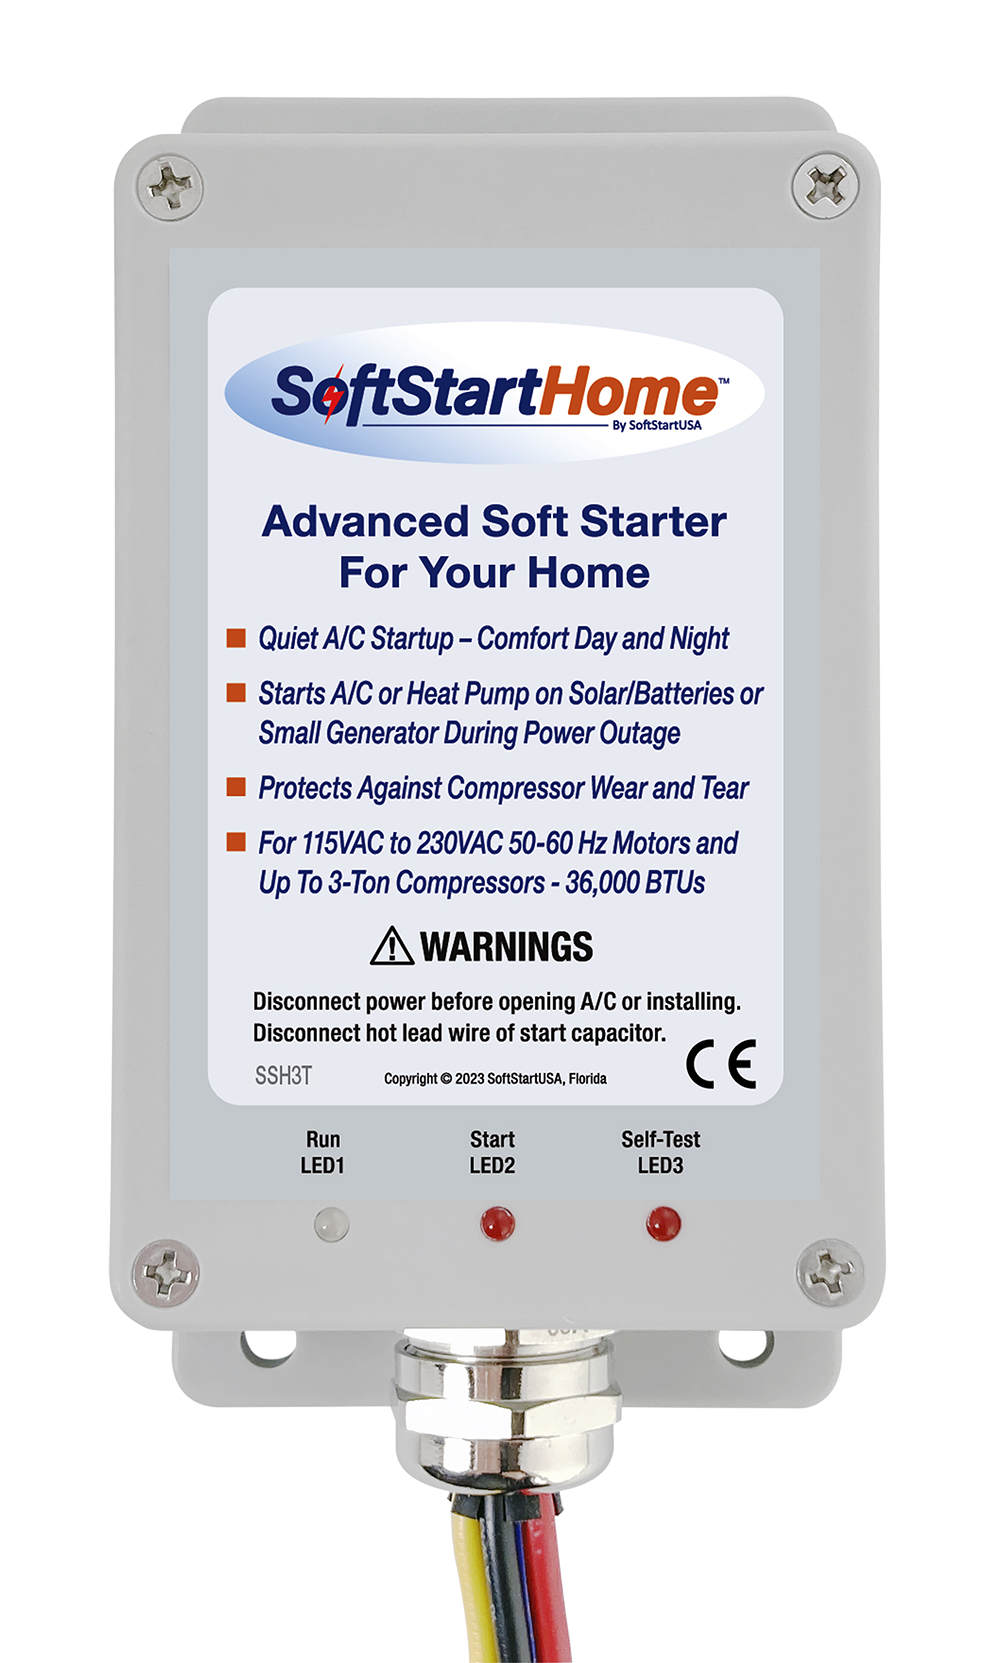
Well, what if I told you there’s a way to turn that dramatic entrance into a graceful pirouette? A magical little device that makes your AC unit behave more like a sleepy kitten stretching awake, rather than a rogue robot falling down the stairs? Enter the humble, yet mighty, Soft Start. And today, we’re going to install one, because who doesn’t love a good DIY adventure that saves energy and sanity?
What Even Is This "Soft Start" Contraption?
Imagine your AC’s compressor is a tiny, incredibly muscular bodybuilder. When it’s told to start, it doesn’t just lift the weight; it snatches it. All that sudden force, all that immediate demand for electricity, is what causes those jarring noises and the light-dimming spectacle. A soft start, in its essence, is a really smart dimmer switch for your AC. Instead of letting all the electricity rush in at once, it gradually feeds power to the compressor.
It’s like the difference between slamming on the gas pedal versus a smooth, elegant acceleration. Did you know a typical AC unit can draw 5-7 times its normal running current just to start up? That’s like asking your car to go from 0 to 60 in less than a second every time you press the ignition. No wonder it complains!
Why Should You Care About This Electrical Spa Treatment?
Beyond simply annoying your neighbors with your AC’s dramatic flair, a soft start offers some fantastic perks. Firstly, less stress on your AC unit means a longer life for your expensive investment. Think of it as preventative maintenance, but way cooler. Secondly, it often translates to quieter operation. No more startling thumps or clunks. Thirdly, and perhaps most importantly for your wallet, it can lead to energy savings, especially if you’re frequently cycling your AC. Plus, for those of you with generators or RVs, a soft start can make it possible to run your AC on less power, expanding your off-grid capabilities. It’s like giving your AC unit a polite butler to serve its electricity, instead of a bouncer throwing it into the circuit.

Alright, Let’s Get Dangerous (But Not Really, Safety First!)
Before we even think about touching anything, we need to address the elephant in the room. This involves electricity. Electricity, while useful, enjoys a good zapping. So, the absolute, non-negotiable, most important step is:
TURN OFF THE POWER TO YOUR AC UNIT AT THE BREAKER BOX.
Seriously. Do it. If you skip this step, you might end up looking like a cartoon character who just stuck a fork in an outlet, and nobody wants that. Verify it's off with a non-contact voltage tester if you have one. Safety isn't just a suggestion; it's the difference between a successful DIY and a really bad day.
Tools for Your Electrical Expedition
You won't need an entire workshop for this, just a few trusty companions:
- A screwdriver set (Phillips and flathead will likely suffice)
- A wire stripper/cutter (unless you enjoy gnawing on insulation)
- Possibly some zip ties or electrical tape for neatness
- A good pair of work gloves (because sharp metal edges are rude)
- And, of course, your brand new, shiny soft start unit (check your specific model's instructions, they can vary slightly!)
The (Not So Scary) Installation Steps: Let's Get Wiring!
Step 1: Locate Your AC's Brains (The Control Box)
Head outside to your AC condenser unit. You'll see a metal panel, usually on the side where the wires disappear into the unit. This is your access panel. Unscrew it. Inside, you’ll find a spaghetti junction of wires, capacitors (those big cylinder things that look like energy drinks for your AC), and relays. Don’t panic! We're only interested in a specific set of wires.
Step 2: The Grand Disconnect (Compressor Wires)
Identify the two wires leading to your compressor. These are typically thicker and often colored differently from the others. Your soft start unit will usually come with a diagram; match those wires! On many units, these will be the "Run" and "Start" wires that go to the compressor. You'll be disconnecting these wires from the contactor/capacitor and instead routing them through your soft start.
Take a photo! Seriously, take several. Before you touch a single wire, snap pictures of how everything is currently connected. This is your electrical Rosetta Stone, your "oh-crap-how-did-this-go-again?" lifeline. Trust me on this one.

Step 3: Wire Up the New BFF (Soft Start Integration)
Now, consult the wiring diagram that came with your specific soft start unit. While units vary, the general principle is the same:
- You'll connect the two compressor wires (that you just disconnected) to the corresponding "Compressor In" terminals on your soft start.
- Then, you'll run new wires (or use the existing ones if they're long enough and suitable) from the soft start's "Compressor Out" terminals back to where the compressor wires originally connected on your contactor/capacitor.
- There will also be a "Common" wire or a grounding wire from the soft start that needs to be connected to the AC unit's common or ground point.
Important: Ensure all connections are tight and secure. Loose wires are like mischievous poltergeists in your electrical system.
Step 4: Secure and Tidy
Once everything is wired up according to your soft start’s diagram, secure the unit itself. Most soft starts are designed to be mounted inside the AC unit's control box. Use zip ties or screws to keep it from rattling around like a loose tooth. Replace the access panel carefully.

Step 5: The Moment of Truth (Power On!)
Alright, take a deep breath. Say a little prayer to the electrical gods. Go back to your breaker box and
FLIP THAT BREAKER BACK ON.
Now, go inside and turn on your AC. Listen. Does it purr? Does it hum gently into action? If so, congratulations! You’ve just given your AC unit a sophisticated new personality. If it still sounds like a wrestling match, double-check your connections against that photo you took!
Troubleshooting (Just in Case)
If your AC isn't starting, or if it's still making its usual racket, don't fret! Go back and:
- Double-check all connections: Are they tight? Are they on the correct terminals according to your diagram?
- Consult your soft start's manual: It might have specific troubleshooting steps or indicator lights to guide you.
- Ensure the power is actually on: (Hey, it happens to the best of us!)
- Call an HVAC professional: If you're completely stumped, there's no shame in calling in the cavalry. It's better than accidentally turning your AC into a very expensive paperweight.
The Sweet Symphony of Silence (and Savings!)
There you have it! You’ve transformed your AC from a power-hungry brute into a gentle giant, all with a little elbow grease and a dash of bravery. Enjoy the quieter startups, the peace of mind that your expensive equipment is being treated kindly, and perhaps even a slight smile from your electricity bill. You’re not just a homeowner; you’re an AC whisperer, a master of electrical harmony. Now go forth, and enjoy your beautifully behaved air conditioner!