Alright, magnificent DIY maestro! Are you ready to feel the thrill of electrifying accomplishment? To stare down a wall, armed with tools, and emerge victorious with a brand-spanking-new 220-volt outlet hummin' with potential? Good! Because today, we’re not just installing an outlet; we’re unlocking a whole new level of home power, and guess what? You’re totally going to crush it. Forget complicated diagrams and dusty textbooks – we’re doing this the fun, fearless, and totally achievable way!
Safety First, Always! (With a Dash of Super-Hero Flair)
Before we dive headfirst into this electrifying adventure, let’s talk safety. Think of it as putting on your invisible superhero suit. This isn't just about being careful; it's about being smart and protecting your glorious self. We're dealing with electricity, which is super helpful but also demands respect. So, promise me you'll treat it like a friendly dragon – admire its power, but keep a safe distance until you know exactly what you're doing. A quick mental fist bump for safety!
Pro-Tip Alert: If at any point you feel a tiny flicker of doubt, like a nervous butterfly in your stomach, please, please, please call in a professional. There's no shame in calling for backup! Your safety is the ultimate prize.
Your Trusty Tool Sidekicks
Every superhero needs their gadgets, right? Here’s your personal arsenal for conquering that 220-volt quest:
- Voltage Tester: This little gadget is your personal superpower, letting you "see" electricity. Absolutely non-negotiable!
- Screwdrivers: Flathead and Phillips. Your everyday champions.
- Wire Strippers: For peeling back wire insulation like a banana. So satisfying!
- Lineman's Pliers or Needle-Nose Pliers: For bending and gripping wires.
- New 220-Volt Outlet and Cover Plate: The star of our show! Make sure it matches the amperage of your circuit.
- Electrical Box: If you're starting from scratch, you'll need one for the outlet to live in.
- Wire Nuts (or Lever-Style Connectors): For joining wires securely.
- Measuring Tape and Pencil: For precision (mostly for where to put the box).
- Utility Knife or Drywall Saw: For creating the perfect opening for your electrical box.
- Work Gloves and Safety Glasses: Because your eyes and hands are priceless treasures.
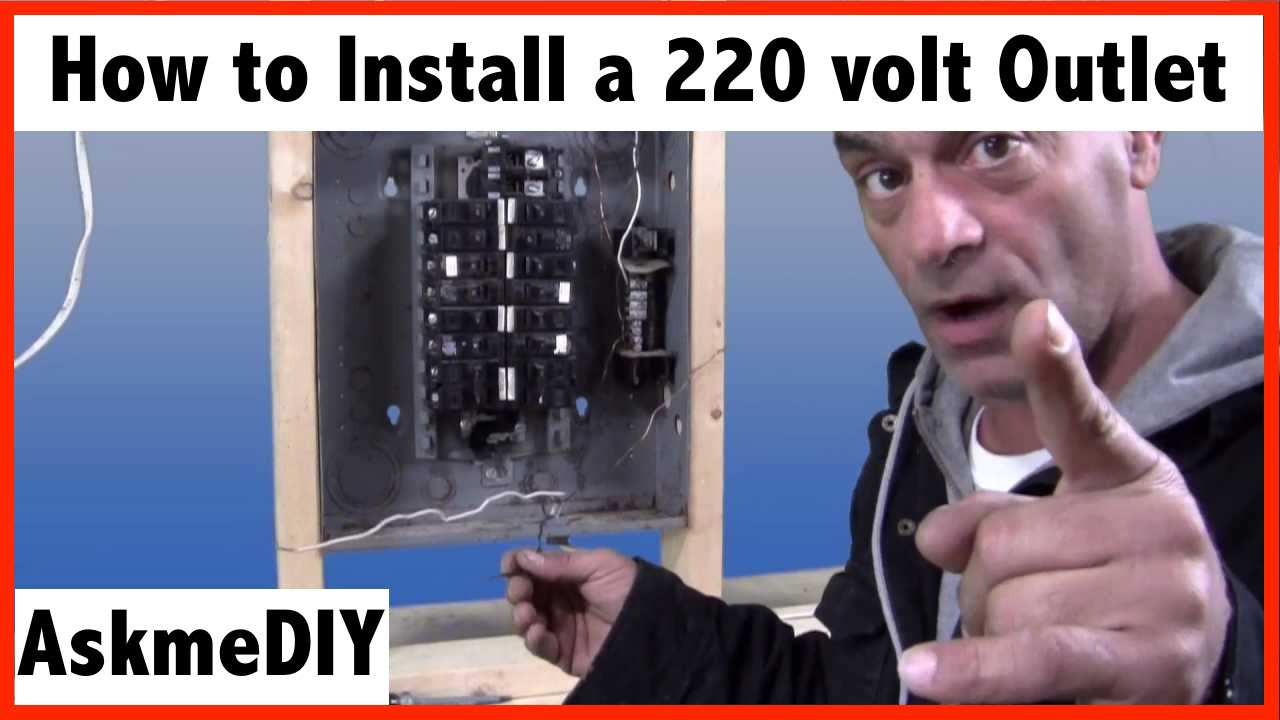
The Grand Power Shutdown! (Cue Dramatic Music)
This is it! The moment of truth where you take control. Head over to your main electrical panel – that big grey box, often in the garage or basement, that looks like the nerve center of your home. Find the circuit breaker that controls the area where you’re working. It might be labeled, or you might have to play a fun game of "flip and test" until the lights go out in your chosen zone. Once you find it, flip that breaker to the OFF position with purpose! Then, and this is crucial, grab your voltage tester and double-check the wires you're about to touch. No beeps? No lights? Excellent! We are officially in safe-play mode.
Wiring Wizardry: Connecting the Dots (Literally!)
Prepping the Wall and Box
If you're installing a new box, measure and mark the spot where your outlet will proudly reside. Cut the opening carefully with your utility knife or drywall saw. Once the opening is ready, thread your electrical cable (which should already be run to this location – that's a whole other adventure!) into the electrical box, leaving about 6-8 inches of cable extending out. Secure the box in the wall, making it snug and ready.
Meeting the Wires
Now, gently remove the outer sheathing from your electrical cable, being careful not to nick the individual wires inside. You'll reveal your colorful wire friends: typically a black, a red, a white (sometimes a neutral, sometimes repurposed as a "hot" for 220V, but always good to check!), and a bare copper or green wire. For 220V, you'll generally have two "hot" wires (often black and red), a neutral (white, if needed for your specific 220V outlet type), and a ground (bare copper or green).
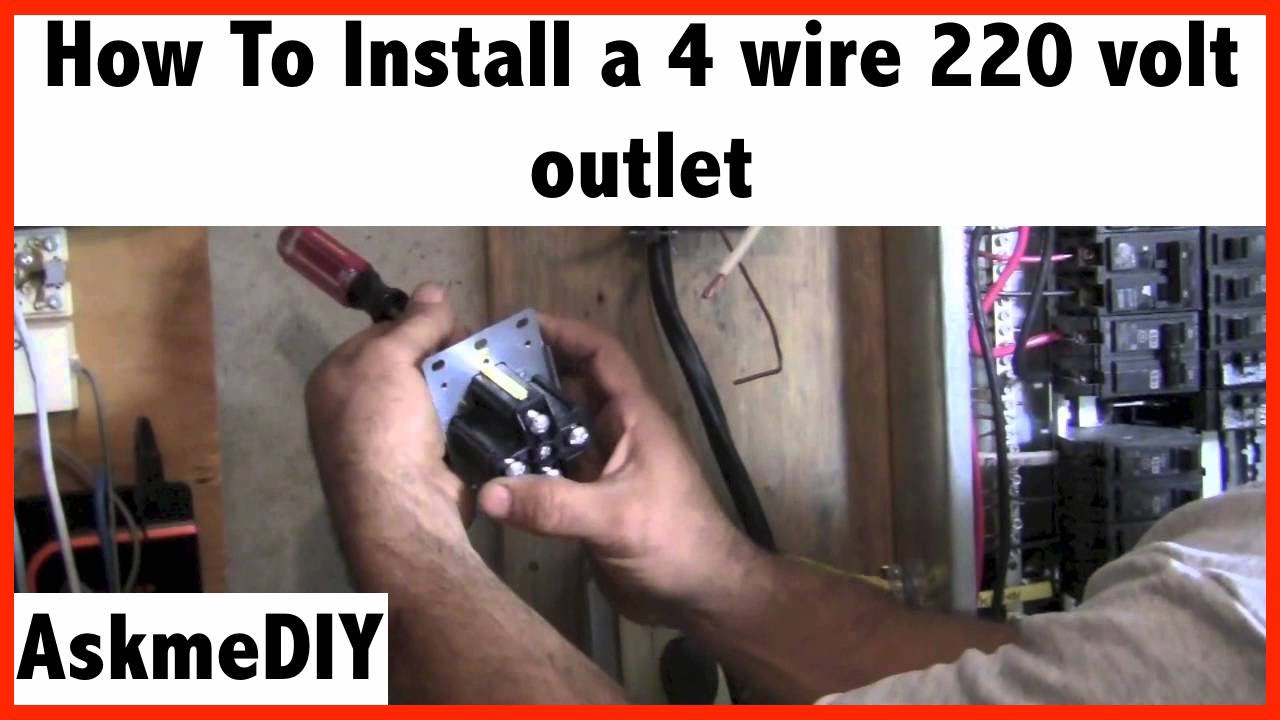
Look at your new 220-volt outlet. It'll have terminals (screws) waiting for these wires. Generally:
- The green or bare copper wire (your ground) goes to the green screw. This is your safety net, connecting everything to the earth.
- Your two "hot" wires (usually black and red) go to the brass-colored screws. These are the muscle wires!
- If your 220-volt outlet requires a neutral (check your outlet's instructions – some do, some don't for pure 220V), the white wire goes to the silver screw.
Strip about 3/4 inch of insulation from the end of each wire. Bend the stripped end into a small hook. Place the hook around the appropriate screw terminal, ensuring it wraps clockwise so it tightens as you turn the screw. Tighten those screws firmly, but don't over-tighten like you're trying to win an arm-wrestling contest!

Quick Check: Give each wire a gentle tug. If it's secure, you're golden! No loose connections allowed on our watch.
Giving Your Outlet a Cozy Home
Once all your wires are snugly attached, carefully fold them back into the electrical box. It’s like tucking them into bed! Push the outlet gently into the box, aligning the mounting holes. Screw the outlet securely to the electrical box. It should sit flush and proud against the wall.
The Grand Finale: Cover Plate and Power On!
With the outlet firmly in place, attach the snazzy new cover plate. This is like putting the final cherry on top of your magnificent DIY sundae! Give yourself a little pat on the back – you've earned it.

Now, for the moment you've been waiting for! Head back to your electrical panel, locate that breaker you flipped earlier, and with a flourish, flip it back to the ON position. Listen for the hum of returning power, feel the energy!
Grab your voltage tester one last time and carefully test the outlet. Seeing those lights or hearing those beeps now means you've successfully brought power to your new 220-volt masterpiece!
Congratulations, you magnificent do-it-yourselfer! You just conquered a 220-volt outlet installation! Feel that surge of pride? That's the feeling of empowerment, of knowing you tackled something impressive and won. Now go forth and plug in whatever high-power gadget your heart desires, knowing you built its very power source. You're not just handy; you're electrically awesome!
