Alright, gather 'round, folks, and let me tell you a little story. Picture this: it's a glorious Saturday morning, the sun is shining, the birds are singing, and your lawn looks like a shaggy green beast that desperately needs a haircut. You're feeling ambitious. You decide, "Today's the day I finally sharpen those dull mower blades myself!" Sounds empowering, right?
I certainly thought so. I wheeled out my trusty old push mower, grabbed my sharpening file, and then... I froze. Staring blankly at the underside, I realized I had absolutely no clue how to actually get the darn blade off. It was bolted on there like it was guarding the secret to eternal youth, and my ambition quickly turned into a sweaty, confused staredown with a rusty bolt.
Sound familiar? You're not alone, my friend. It's one of those seemingly simple tasks that can make you question all your life choices. But fear not! I've been down that greasy, grass-stained road, and I've emerged victorious. So, grab a beverage, because we're about to demystify the dark art of removing a lawn mower blade.
Alright, Let's Get That Blade Off!
This isn't rocket science, but it does require a bit of know-how and, more importantly, a healthy respect for pointy, spinning objects. So let's dive in!
Step 1: Safety Dance! (Seriously)
Before you even think about touching that blade, we need to talk safety. This isn't optional, people. This is crucial. Imagine losing a finger just because you were in a hurry. Nope, not today.
Disconnect the Spark Plug: If you have a gas mower, find the spark plug wire and pull it off. This prevents the engine from accidentally starting, even if someone bumps the starter cord. For electric mowers, unplug it from the wall. Battery-powered? Remove the battery pack entirely. No power, no unexpected spinning blade. Simple.
Wear Gloves: Those blades are sharp, even when dull, and the underside of your mower deck is probably a graveyard of old grass clippings, dirt, and who knows what else. Thick work gloves are your best friend here.

How to Remove a Lawn Mower Blade | Consumer Reports - YouTube Eye Protection: Dust, debris, rust flakes – they all love to fly into your eyes. Pop on some safety glasses.
Step 2: Gather Your Arsenal (Tools)
You'll need a few things to make this job easier:
Socket Wrench and Socket: Most mower blades are held on by a single bolt. You'll need a socket that fits snugly. Common sizes are 15mm, 5/8", 14mm, or 9/16". A good quality, long-handled wrench will give you more leverage.
Wood Block (2x4 or similar): This is your secret weapon to stop the blade from spinning. More on that in a sec.
Penetrating Oil (like WD-40 or Liquid Wrench): If that bolt is rusty and stubborn (and it probably will be), this is your magic elixir.

How to Replace a Lawn Mower Blade: Easy DIY Guide Wire Brush: Handy for cleaning off grime around the bolt head if it's really caked on.
Breaker Bar (Optional, but highly recommended for stubborn bolts): This is just a really long wrench handle that provides maximum leverage. Sometimes, brute force, when applied correctly, is the only way.
Step 3: Position for Success
You can't exactly work on the blade with the mower sitting on its wheels, can you? You need to tilt it. For gas mowers, it's generally best to tilt it on its side so the air filter and carburetor are facing upwards. This helps prevent oil or gas from leaking into places it shouldn't be, which can cause starting issues later.
If you're unsure, or for electric mowers, tilting it back so it rests on its handles is also an option, just make sure it's stable and won't tip over. Maybe prop it up against a workbench or sturdy surface. Safety first, remember?

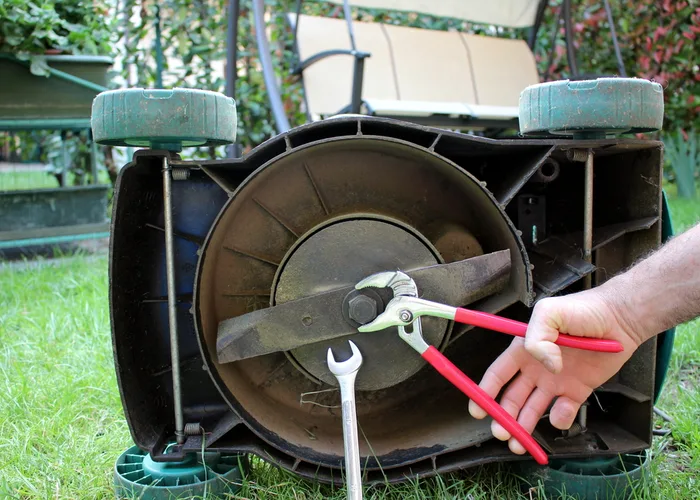
Step 4: The Blade Blocker Maneuver
Here's where that trusty wood block comes in. You need to prevent the blade from spinning when you try to loosen the bolt. Wedge the 2x4 firmly between the side of the mower deck and one end of the blade. Make sure it's secure and won't slip. This creates the necessary counter-pressure.
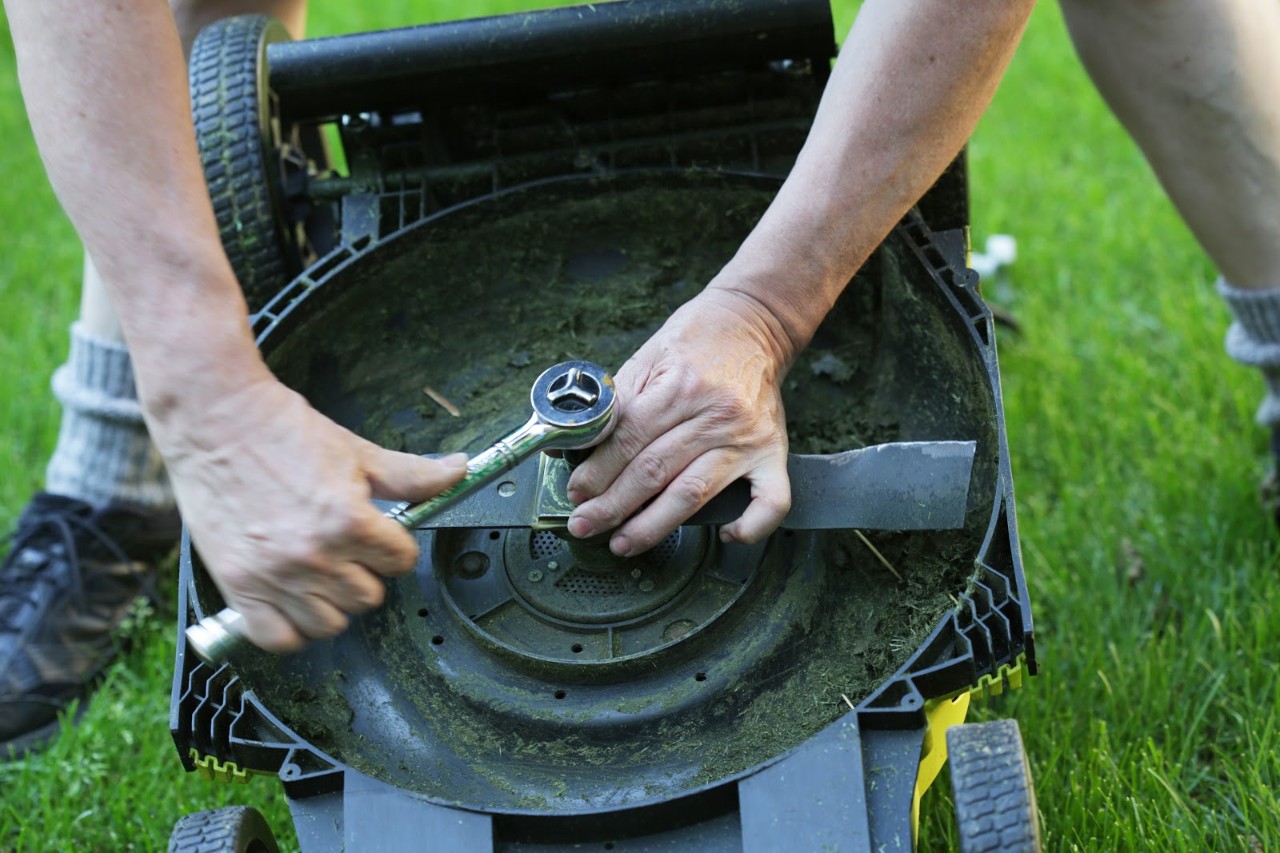
Step 5: The Moment of Truth – Loosen That Nut!
Okay, deep breaths. This is often the trickiest part. Mower blade bolts are notorious for being tight.
First, if the bolt looks rusty or grimey, give it a good spray with your penetrating oil. Let it sit for a few minutes to work its magic. Go grab another sip of that beverage.
Now, grab your socket wrench. Here's the kicker: most, but not all, lawn mower blade bolts are
It feels counter-intuitive, I know! Many a DIYer has spent an hour tightening their blade bolt even further, cursing the heavens, before realizing this little gem. So, turn right to loosen. You'll need to apply some serious force. If it's really stuck, a breaker bar will be your best friend. A quick, sharp jerk can sometimes work better than a slow, steady push.
Step 6: Victory! (Blade Removal)
Once the bolt is loose, you can usually unscrew it by hand. Carefully remove the bolt, any washers, and then the blade itself. Pay attention to how the blade is oriented – many blades have a specific "this side up" marking, or a slight curve. You'll want to reinstall it in the exact same way.
A Few Extra Tips While You're Down There
Clean the Deck: While the blade is off, it's the perfect time to scrape off all that caked-on grass and grime from the underside of your mower deck. It helps with airflow and prevents rust.
Inspect the Blade: Is it bent? Cracked? Severely worn? Sometimes, sharpening isn't enough, and a replacement is in order. Make sure it's balanced too, if you're sharpening it yourself.
Reinstallation: When you put the blade back on, make sure it's oriented correctly, then hand-tighten the bolt. Finally, use your wrench to tighten it down securely. Remember, if it was a left-hand thread, you'll be turning counter-clockwise (to the left) to tighten. Give it a good, firm snug, but don't overtighten to the point of stripping the bolt.
And there you have it! You've successfully wrestled that stubborn blade off your mower. Now you can sharpen it, replace it, or just admire your handiwork. Go on, give yourself a pat on the back. You've earned it!