
Okay, let me set the scene for you. Picture this: It's a sunny Saturday, and I'm in my garage, wrestling with a piece of what felt like armour plating. My brilliant idea was to fashion a custom bracket for my perpetually wobbly workbench, and my weapon of choice was an old, trusty (and by trusty, I mean temperamental) angle grinder. Sparks were flying like a Fourth of July fireworks show gone rogue, the screeching was enough to wake the dead, and after what felt like an hour, I had barely scored a line that looked less like a cut and more like a beaver had taken a bite out of it. My arms felt like I'd wrestled a bear, and the metal looked like it had lost.
I was about ready to throw in the towel, or perhaps just throw the offending piece of metal into the nearest dumpster, when my buddy Dave ambled in. He took one look at my sweat-drenched, grimy face and the pathetic attempt at cutting, chuckled, and said, "Mate, you're doing it wrong." He then disappeared and reappeared with a contraption that looked like something out of a sci-fi movie – a sleek box with a futuristic-looking torch. "Ever heard of a plasma cutter?" he asked with a grin. My life, and my approach to metalworking, was about to change forever.
So, How Does This Magic Box Work, Anyway?
Think of it like this: a plasma cutter is essentially a shortcut to melting metal. Instead of grinding or sawing, it uses an incredibly hot, electrically conductive gas (the plasma) to cut through metal like a hot knife through butter. Seriously, it's that dramatic. It generates an electric arc, just like a welder, but then it forces a gas (usually compressed air, but sometimes nitrogen or oxygen) through a constricted opening. This forces the gas through the arc, heating it to insane temperatures – think 30,000 degrees Fahrenheit! This superheated, ionized gas becomes plasma, which then blasts through the metal, melting it and blowing away the molten material.
The result? Super clean, super fast cuts on just about any conductive metal: steel, stainless steel, aluminum, copper, brass... you name it. No more jagged edges or hours of grinding. Your ears (and your neighbors) will thank you.
Before You Fire It Up: Safety First (Seriously)
Alright, before you go all Jedi master with your new plasma torch, let's have a quick chat about safety. This isn't a toy. You're dealing with high voltage, intense heat, and UV light. So, please, please, please:

- Eye Protection: Get yourself a welding helmet or at least some dark-shade goggles. The arc is brighter than the sun (almost!), and you do not want arc flash.
- Gloves: Heavy-duty welding gloves are a must.
- Protective Clothing: Long sleeves, thick pants (no synthetics!), and closed-toe shoes. Sparks fly, remember?
- Ventilation: Fumes aren't your friend. Work in a well-ventilated area or use a fume extractor.
- Fire Extinguisher: Have one nearby. Just in case.
Trust me, a few minutes of prep can save you a world of hurt. Don't skimp here, folks!
Getting Started: Setup & Prep
The setup is surprisingly straightforward, especially for air plasma cutters (which most DIYers and small shops use). You'll typically need:
- Power: Plug it into the appropriate outlet. Check your machine's requirements – some need 240V, others 120V.
- Air Compressor: If it's an air plasma cutter, connect your air compressor. Ensure it can deliver the required CFM (cubic feet per minute) and pressure for your machine. Consistent air pressure is key!
- Consumables: These are the parts in the torch nozzle that wear out (electrode, nozzle, swirl ring). Make sure they're in good shape and installed correctly.
- Ground Clamp: This is crucial. Clamp it securely to the metal you're cutting, or directly to your metal workbench if it's conductive to the workpiece. A good ground means a good arc.
Once everything's hooked up, turn on your machine and set your amperage. The thicker the metal, the higher the amperage you'll need. Your machine's manual will have a handy chart.

Time to Cut! The Plasma Dance
Alright, deep breaths. You're ready for your first cut. Here's the basic rundown:
1. Mark Your Cut: Use a soapstone, marker, or scribe to clearly mark where you want to cut. Precision matters!
2. Get Ready to Pierce: There are two main ways to start:
- Edge Start: If possible, start your cut from the edge of the material. This is cleaner and easier on your consumables. Hold the torch nozzle slightly above the edge, hit the trigger, let the arc establish, then move into the cut.
- Pierce Start: If you need to start in the middle of a piece, hold the torch perpendicular to the metal, about 1/8 to 1/4 inch above the surface. Hit the trigger, wait for the plasma arc to pierce all the way through (you'll see molten metal spray from the bottom), then slowly move forward.
3. The "Drag" Technique: Many plasma torches are designed for a "drag" technique. This means you actually rest the torch nozzle directly on the metal surface and drag it along your marked line. Keep a steady hand and a consistent travel speed. This is where practice makes perfect!
4. Watch Your Angle: Try to keep the torch perpendicular to the metal for the cleanest cuts. Tilting it too much can cause beveling.
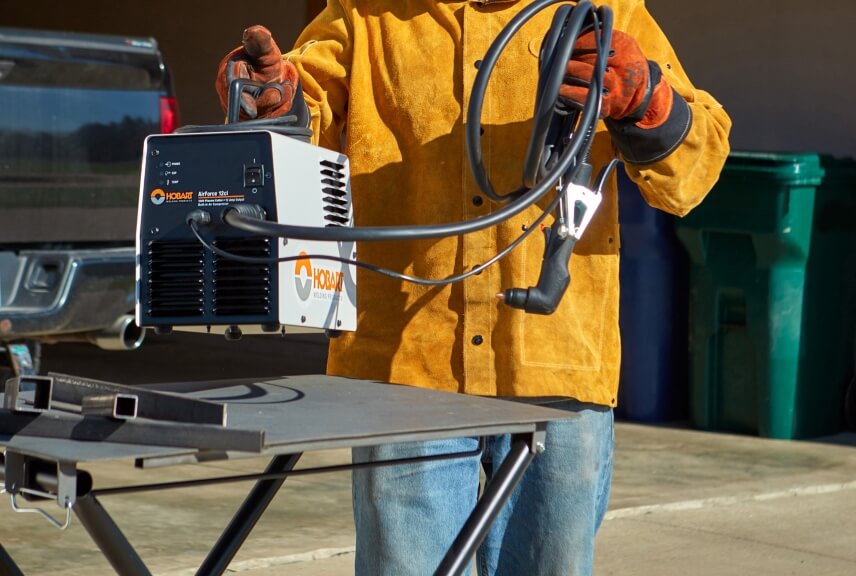
![How Do I Use a Plasma Cutter? – [Complete Beginner’s Guide]](https://powertoolsgeek.com/wp-content/uploads/2019/12/How-Do-I-Use-a-Plasma-Cutter.jpg)
5. Travel Speed: This is critical. Too slow, and you'll get a wide, messy kerf (the width of the cut) and a lot of dross (slag on the bottom edge). Too fast, and the arc won't cut all the way through, leaving you with an incomplete cut or a lot of grinding. You want a steady stream of sparks coming from the bottom of the workpiece – that's your visual cue for good travel speed.
Troubleshooting & Tips for the Budding Plasma Artist
Don't be discouraged if your first few cuts aren't gallery-worthy. It takes a bit of practice. If you're getting poor cuts:
- Check Consumables: Worn electrodes or nozzles are the most common culprits. Swap them out!
- Air Pressure: Is your compressor keeping up? Too little pressure, and your plasma stream won't be as effective.
- Travel Speed: Adjust it. Go a little faster, then a little slower, until you find that sweet spot.
- Amperage: Ensure it's set correctly for the thickness of your material.
Honestly, once you get the hang of it, you'll wonder how you ever lived without one. That wobbly workbench? Perfectly stable now, thanks to some custom brackets cut with ease. So, go on, embrace the plasma revolution. You'll be amazed at what you can create!