
Alright, settle in, grab a coffee, because we're about to delve into one of life's truly sticky, crusty, and mildly terrifying mysteries: battery acid goo. You know the stuff. You open up that remote that hasn't worked since the invention of dial-up, or peek under the hood of your car, and BAM! There it is. A suspicious, often white or greenish, crystalline growth that looks like something straight out of a mad scientist's rejected terrarium project. It’s enough to make you mutter, "Well, shoot, now what?"
Before you panic and consider just buying a whole new car (or remote, let's be realistic), let me assure you: cleaning off battery acid isn't a job for hazmat suits and highly trained professionals. It's usually a job for you, armed with some surprisingly common household items, a little gumption, and a healthy dose of "don't lick that."
First Things First: What IS This Oozy Mess?
So, what exactly are we dealing with? Most household batteries (AA, AAA, C, D) are alkaline, meaning their "acid" is actually a base – potassium hydroxide. It’s what causes that flaky, white crust. Car batteries, on the other hand, are typically lead-acid batteries, filled with (you guessed it!) sulfuric acid. When these batteries leak, they create that lovely, corrosive gunk that looks like a metallic, evil snowdrift. Both are corrosive, both are annoying, and both need to be handled with a modicum of respect, like a grumpy badger.
Safety Dance: Don't Be a Hero (or a Fool)
Before you even think about poking that mysterious crust, we need to talk safety. This isn't optional, folks. This is mandatory. You wouldn't try to wrestle a porcupine with your bare hands, right? Same principle applies here.
You absolutely, positively need eye protection. Think safety goggles, not your stylish sunglasses. And gloves. Seriously, invest in some rubber or nitrile gloves. You don't want battery acid residue on your skin. It can cause irritation, burns, and generally make your day a lot less fun. Imagine trying to explain that rash to your doctor! Just don't. Protect yourself, you magnificent human!
The Great Neutralizer: A Tale of Two Acids (and Bases)
Here’s where it gets fun. The key to cleaning battery acid isn't just scrubbing; it's neutralization. We want to turn that corrosive gunk into something harmless. And for that, we have two different, equally fabulous, secret weapons.
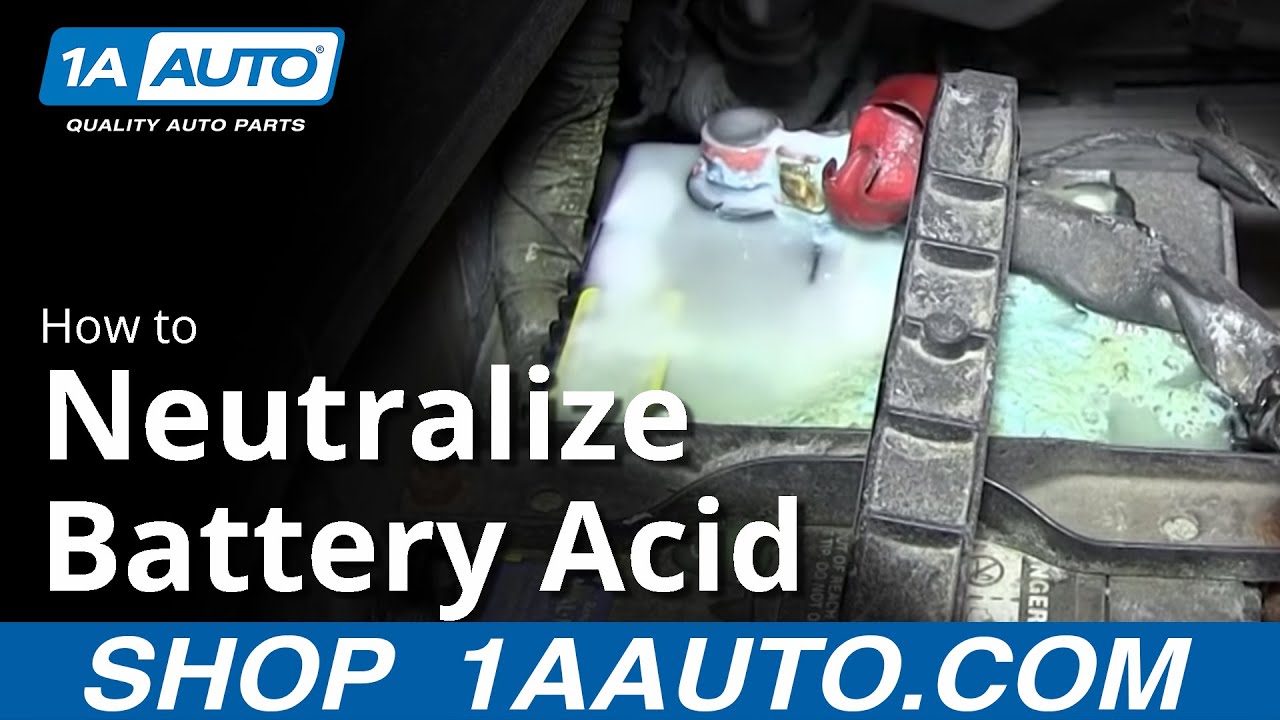
For Car Batteries (Lead-Acid): Enter the Mighty Baking Soda!
If you're dealing with that greenish-white crud on your car battery terminals, your knight in shining armor is none other than plain old baking soda. Yes, the stuff you keep in your fridge to absorb odors or use for impromptu volcano science projects. Sulfuric acid is, well, an acid. Baking soda is a base. When they meet, they throw a little party, create some bubbles, and neutralize each other. It’s like a tiny, fizzing peace treaty!

Your Car Battery Cleaning Crusade:
- Gear Up! Goggles and gloves, remember?
- Locate the Critter: Find that crusty mess on your battery terminals.
- Sprinkle, Sprinkle, Little Star: Liberally sprinkle baking soda directly onto the corrosion. You'll likely see a satisfying fizzing action. This is good! It means the neutralization is happening. If it doesn't fizz much, add a little water to make a paste and encourage the chemical reaction.
- Scrub-a-Dub-Dub: Grab an old toothbrush, a wire brush, or a battery terminal brush. Start scrubbing that now-neutralized goo. Get into all the nooks and crannies. This is where you physically remove the gunk.
- Rinse and Repeat (Carefully!): Once you've scrubbed it clean, you can carefully rinse the area with a small amount of clean water. Be mindful not to get water inside the battery cells if possible.
- Dry It Off: Pat everything dry with a clean cloth or let it air dry completely before reconnecting anything electrical. A perfectly clean connection is a happy connection.
Voila! Your car battery terminals are now sparkling clean, probably feeling very smug about themselves.
For Household Batteries (Alkaline): Hello, Vinegar!
Now, if you're battling the white, powdery crust from AA, AAA, C, or D batteries that leaked in your flashlight or remote, baking soda isn't your main player. Remember, alkaline "acid" is actually a base. So, to neutralize a base, you need an acid! And the best, safest, and cheapest household acid? White vinegar! Lemon juice also works in a pinch if you like your cleanup smelling like a refreshing salad dressing.

Your Household Battery Clean-Up Mission:
- Suit Up (Again!): Goggles and gloves, even for tiny batteries. Don't underestimate the corrosive power of that little white powder.
- Extract the Culprit: Carefully remove the offending leaky battery (and dispose of it properly, please!).
- Dab and Soak: Dip a cotton swab, a Q-tip, or a small brush into white vinegar. Gently dab and wipe the corroded areas inside the battery compartment. You might not get a dramatic fizz, but trust me, the vinegar is working its magic, neutralizing that alkaline crud.
- Scrub Gently: Use your vinegar-soaked swab to gently scrub away the loosened corrosion. Be patient and thorough.
- Wipe Clean: Once you've removed the visible residue, use a fresh, slightly damp (with just water) cotton swab or a clean cloth to wipe away any remaining vinegar residue.
- Dry, Dry, Dry: Let the compartment air dry completely before inserting new batteries. Moisture and electronics are not friends.
And there you have it! Your remote is now ready to change channels again, and your flashlight can once more illuminate that dusty corner of the attic. You've conquered the crud, stared down the sludge, and emerged victorious, all without calling a professional or buying a whole new gadget.
So, next time you encounter that suspicious, crusty growth, don't despair. Just remember your trusty baking soda or vinegar, don your safety gear, and tackle that goo with confidence. You'll not only save yourself some money but also gain the immense satisfaction of being a DIY hero. Now, who's up for another coffee?
