Ever gazed at your phone charger, your laptop adapter, or even the humble LED strip lighting up your desk, and wondered, "How does that even work?" Well, you're about to unlock one of the unsung heroes of modern electronics: the rectifier, specifically the popular 4-pin rectifier. It might sound super technical, but trust us, understanding its simple wiring diagram is like gaining a secret superpower in the world of gadgets!
So, why is this topic fun, useful, and even a little popular? Because electricity comes in two main flavors: Alternating Current (AC) and Direct Current (DC). Your wall outlets deliver AC, which is great for transmitting power over long distances. However, almost all the sensitive electronics we use daily – your phone, computer, TV, and countless other battery-powered devices – run on DC. Imagine trying to give a delicate device a roller coaster ride of power when it really just needs a calm, steady flow! That's where our little 4-pin friend comes in.
The primary purpose of a rectifier is to act as an electrical bouncer, letting electricity flow in one direction only. For a 4-pin rectifier, often called a bridge rectifier, it's even cleverer. It takes the AC current, which constantly swaps direction, and converts it into pulsating DC. Think of it like this: AC is like a two-way street where cars keep reversing; DC is a one-way street. The rectifier ensures all the "cars" (electrons) always travel in the same direction, creating a direct current suitable for your electronics. The beauty of the 4-pin design is that it's highly efficient at this conversion, making it incredibly useful in power supplies everywhere.
The benefits are enormous. Without rectifiers, we wouldn't be able to charge our devices directly from the wall. We'd need massive, inefficient battery banks, or every device would have to be designed to run on AC, which is much trickier for sensitive components. This little device makes our electronics smaller, more reliable, and far more convenient. For DIY enthusiasts, understanding the 4-pin rectifier wiring diagram is a foundational skill. It empowers you to build your own power supplies, repair old electronics, or even create custom charging circuits. It’s about taking control and truly understanding the magic behind the curtain!

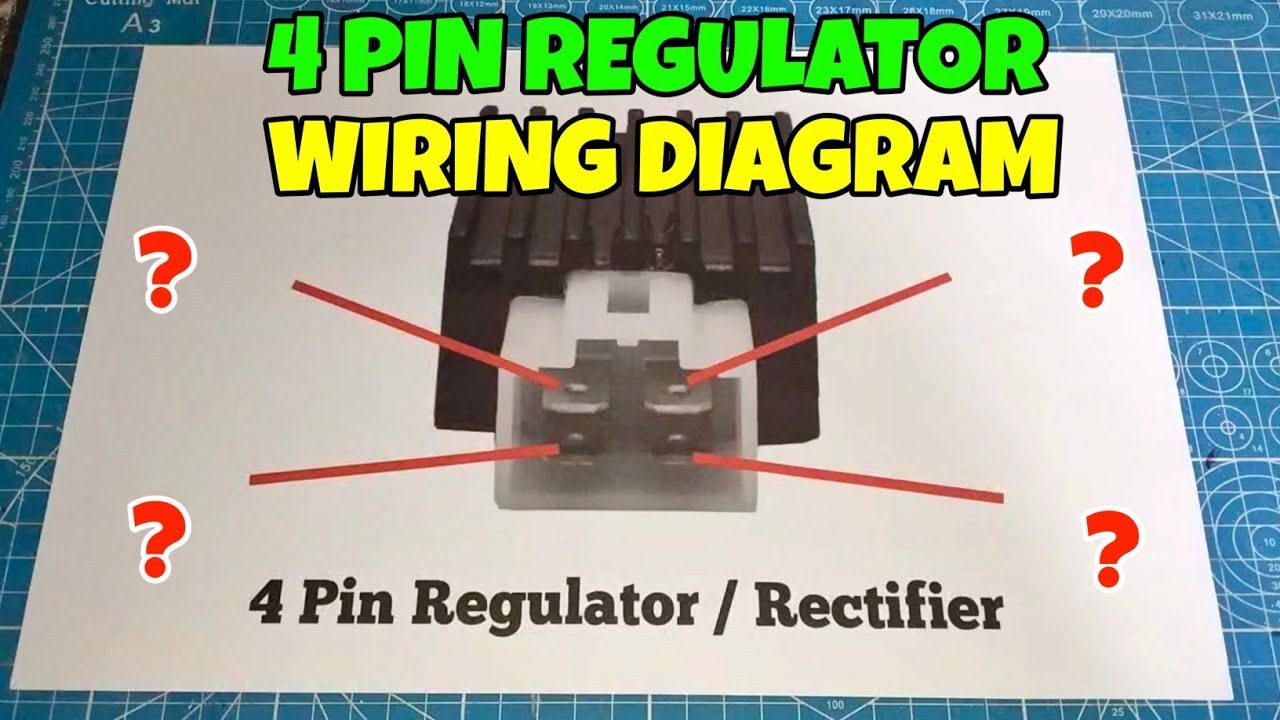
Now, let's talk about the wiring, which is surprisingly straightforward for something so crucial. A typical 4-pin rectifier looks like a small black square or rectangle with four metal legs sticking out. These legs are its connection points. You'll usually see markings on the rectifier itself: two pins marked with a squiggly line (~) or "AC" are for your Alternating Current input. The other two pins will be marked with a plus sign (+) and a minus sign (-). These are your Direct Current output terminals.
So, to wire it up, you'd connect your AC source (perhaps from a transformer, which steps down the high voltage from your wall outlet) to the two `~` pins. Then, your device or circuit that needs DC power would connect to the `+` and `-` pins. The positive terminal of your DC load goes to the `+` pin of the rectifier, and the negative terminal goes to the `-` pin. Often, you'll see a capacitor added to the DC output to "smooth" out the pulsating DC into a much more stable, pure DC signal – think of it as ironing out the ripples in our one-way street! With this simple setup, you've just taken raw AC power and transformed it into the stable DC that breathes life into countless electronic wonders. It’s a small component with a colossal impact, and now you know its secret!