Ever gazed at a beautifully welded joint and thought, "How do they do that?!" Well, pull up a chair, because today we're diving into one of the unsung heroes of strong, clean welds: the 3/32 7018 welding rod and its all-important dance partner, amperage. This isn't just about technical specs; it's about unlocking the magic behind creating something robust and reliable, whether you're fixing a rusty gate or building a custom metal sculpture. Understanding amperage for this popular rod is like knowing the secret ingredient in a chef's signature dish – it’s what makes everything come together perfectly!
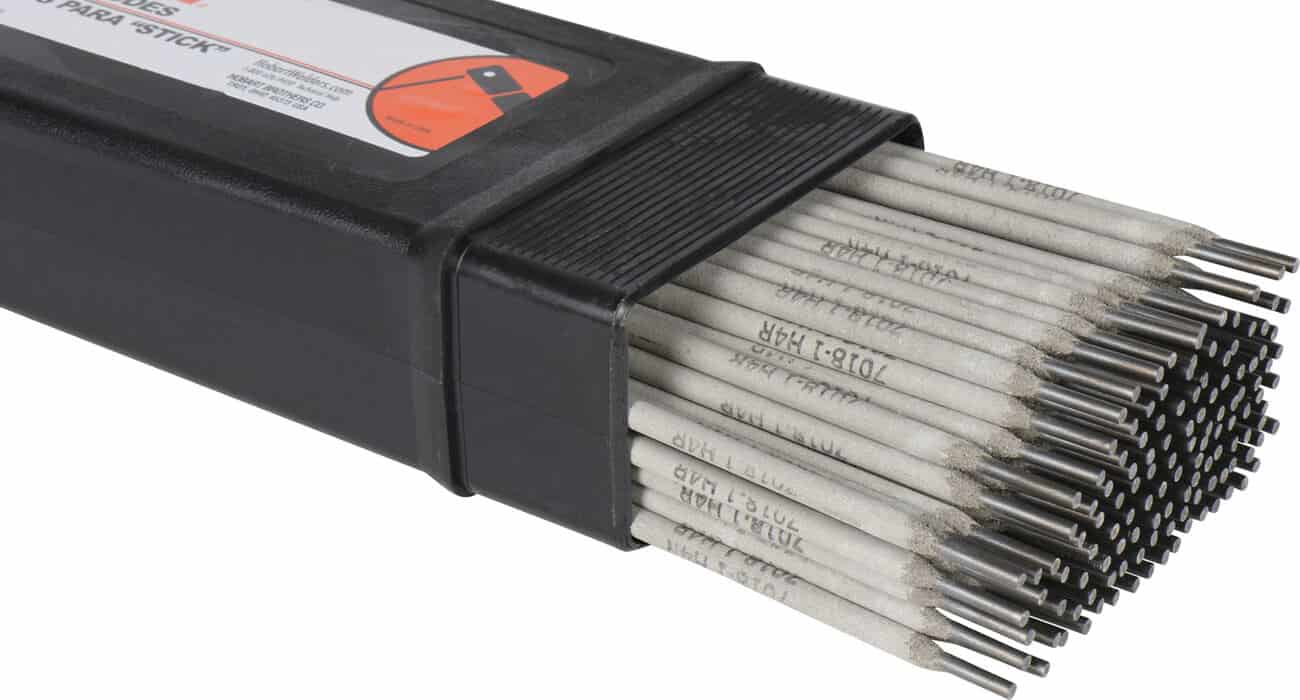
The 7018 rod, often affectionately called a "low hydrogen" rod, is a superstar in the welding world. Its main purpose? To deliver exceptionally strong and ductile welds, especially on structural steel where integrity is paramount. Think bridges, heavy machinery, or any application where failure simply isn't an option. The "70" means it produces a weld with at least 70,000 pounds per square inch (psi) tensile strength – that's some serious muscle! The "18" indicates it can be used in all positions (though specific sizes are better suited for certain positions) and has that crucial low-hydrogen coating that minimizes cracking, making for a much tougher, more reliable joint.
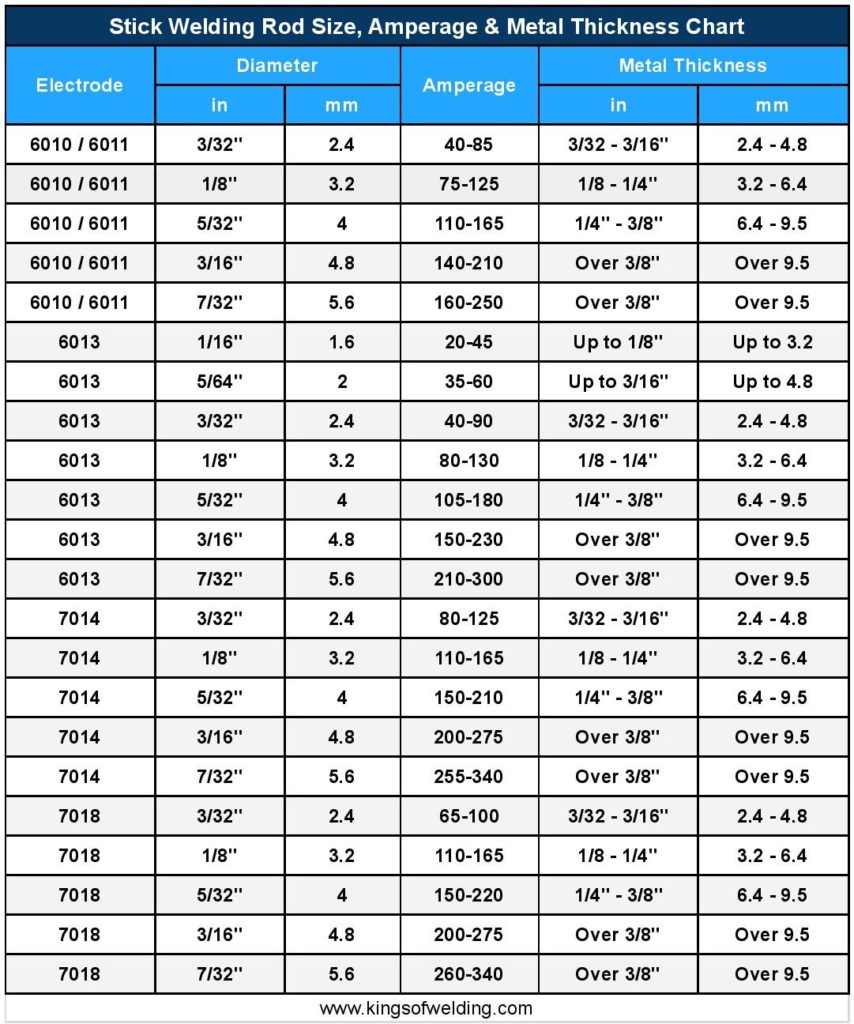
Now, why the 3/32-inch size? This particular diameter is incredibly versatile. It's not too big to handle on thinner materials (like 1/8 to 1/4 inch thick steel, which is common for many projects), nor too small to feel ineffective on slightly thicker stuff. It strikes a fantastic balance, making it a favorite for both hobbyists and seasoned pros working on a wide range of tasks. It's the Goldilocks of welding rods – just right!
But here's the kicker: even the best rod is useless without the right amount of power. This is where amperage steps in. Think of amperage like the heat setting on your oven. Too low, and your cake won't cook; too high, and it'll burn to a crisp. For a 3/32 7018 rod, the sweet spot typically falls in the range of 75 to 125 amps, almost always using DC+ (Direct Current Electrode Positive). Going too low on the amperage will cause the rod to stick constantly, leading to poor penetration and a weak, cold weld that looks like a lumpy mess. Too high, and you'll burn through your material, create excessive spatter, and get an ugly, undercut bead that lacks strength.

Finding your personal sweet spot within that 75-125 amp range depends on a few things: the thickness of your base metal (thicker metal usually needs more amps), your welding position (flat and horizontal might tolerate slightly higher amps than overhead), and even your travel speed. A good rule of thumb is to start around 90-100 amps, test it on a piece of scrap metal identical to your project, and then adjust slowly. Listen to the arc – it should have a steady, crisp sizzle, not a sputtering cough or a violent roar. Watch the puddle; it should flow smoothly and wet out nicely at the edges, giving you that beautiful, uniform bead.
Mastering amperage for your 3/32 7018 rod isn't just a technical detail; it's a step towards becoming a true artist of metal. It means your projects will not only look great but will also stand the test of time, proudly displaying the strength and skill you poured into them. So, dial it in, strike that arc, and enjoy the incredibly satisfying process of creating something strong and lasting!